


That small tear in your lanai screen is easy enough to ignore, but bigger issues might be hiding in plain sight.
While patching one or two panels is a quick fix, a full rescreen is often a smarter, more cost-effective investment in the long run, especially when multiple panels are starting to show their age. This quick diagnostic checklist will help you spot the subtle but critical signs that your entire pool enclosure needs a refresh.
Knowing When To Rescreen Your Pool Enclosure

Beyond the obvious holes and rips, several less apparent clues signal that your pool enclosure is due for a complete overhaul. Catching these early can prevent bigger problems down the road, keep your outdoor space secure, and maintain your home's value. It’s all about looking past a single damaged panel to assess the health of the entire structure.
One of the most telling signs is the screen's texture. Go ahead and run your hand across a panel. If it feels brittle or leaves a chalky residue on your fingers, that’s a clear signal of advanced UV degradation. This means the screen has lost its flexibility and is just waiting for a strong gust of wind or a stray toy to tear.
Assessing Widespread Material Fatigue
Age is a huge factor, especially here in the harsh Tampa Bay climate. Most standard fiberglass screens have a real-world lifespan of about five to seven years. If your screens are getting close to that age, a full rescreen is a smart, proactive measure, even if you don't see widespread damage yet.
Another key indicator? Sagging or loose panels. When you see screens waving in the breeze or drooping, the problem often lies with the spline—that’s the rubber gasket holding the screen tight in the frame. Over time, spline shrinks and hardens, losing its grip and causing the screen to lose all its tension. Just replacing one panel won't fix a systemic spline failure that’s happening across the whole cage.
Think of your enclosure's screens like tires on a car. When the tread on all four is worn down, you don't just replace one. A full rescreen ensures uniform strength, appearance, and longevity for the entire structure.
Recognizing Environmental Impact
Florida’s unique weather takes a toll on screens in ways homeowners in other states just don't have to worry about. The trifecta of intense sun, high humidity, and salty air creates a brutal environment for any exterior material. You can learn more about how Florida weather affects your screens in our detailed guide here: https://rescreenrescue.com/2025/04/01/heat-humidity-and-uv-rays-how-florida-weather-affects-your-screens/
Keep an eye out for these specific signs of environmental wear and tear:
- Discoloration and Fading: Screens that have turned from a deep black to a silvery-gray are showing their age. This isn't just a cosmetic issue; it's a sign that the material has weakened significantly.
- More Debris and Pests Inside: Finding more leaves, pine needles, or bugs inside your pool area? That’s a good hint that you have small, hard-to-see holes or gaps throughout the enclosure.
- Sticking Screen Doors: If your screen doors don't close right or the hardware feels loose, it can signal that the whole enclosure system is aging and could use a comprehensive refresh, screens included.
DIY Versus Professional Pool Cage Rescreening
When your pool enclosure screens start looking tired and torn, the idea of a DIY rescreening project can sound pretty appealing. Who doesn't want to save a few bucks? But before you grab a roll of screen from the hardware store and dust off the ladder, it's worth taking an honest look at what the job actually involves.
This isn't a simple weekend task like patching a small hole. Rescreening an entire pool cage is a massive undertaking that demands specialized tools, a ton of patience, and a specific skill set that frankly, only comes with experience. Let's weigh the real-world pros and cons to help you decide what's right for your home.
The Reality of a DIY Rescreening Project
Jumping into a full rescreen means a lot more than just swapping out old material for new. The process is deceptively tricky, and one small mistake can leave you with a sloppy-looking job that you’ll just have to fix later.
The biggest hurdle for almost every DIYer is getting the screen tension just right. It's a delicate balance. Without the proper technique, you’ll end up with screens that are either saggy and rippled or pulled so tight they put stress on the aluminum frame itself. This not only looks unprofessional but can drastically shorten the screen's lifespan and even damage your cage structure over time.
A pro's work is obvious in the final tension. A perfectly installed screen is taut, smooth, and even, almost like a drum. It's the signature of quality craftsmanship, and it’s incredibly difficult for a beginner to get right.
Getting that clean, professional finish isn't just about technique; it's about having the right gear and being prepared for the work involved.
Here’s a peek at what you’re really signing up for:
- Specialized Tools: A standard toolbox won't cut it. You'll need a professional-grade spline roller (not the cheap plastic kind), a sharp utility knife with a constant supply of fresh blades, and possibly even a screen stretching tool to help manage large panels.
- Safety Risks: Let's be honest, most pool cages are pretty tall. You'll be spending hours perched on a ladder, often on the uneven ground of a pool deck. That’s a recipe for a serious fall. Professionals come equipped with the right scaffolding, ladders, and safety gear to work at heights safely and efficiently.
- The Time Commitment: This is not a one-day project for a first-timer. A professional crew can knock out a standard-sized enclosure in a day or two. For a DIYer, that same job could easily eat up several weekends of your free time.
The Clear Advantages of Hiring a Professional
When you bring in a seasoned professional, you're not just paying for a pair of hands. You're investing in their experience, efficiency, and the peace of mind that comes with knowing the job will be done correctly the first time. No headaches, no costly do-overs.
Professionals also have access to commercial-grade materials you simply can't find in big-box stores. We're talking about superior screens and splines engineered to stand up to Florida’s brutal sun, humidity, and storms. This means a longer-lasting, more durable result for you.
A pro will also assess the entire structure. Sometimes, a simple rescreen is all you need, but other times, the frame itself needs attention. They can help you understand the difference between a full refurbishment and a total rebuild.
Plus, a professional service covers all the little things that get missed in a DIY attempt. This includes the proper removal and eco-friendly disposal of all the old screen and spline, a careful inspection of the aluminum frame for hidden corrosion or damage, and replacing old, rusty fasteners with new, corrosion-resistant hardware.
Finally, and this is a big one, you get a warranty. A professional installation is almost always backed by a guarantee on both the materials used and the quality of the workmanship. If a panel comes loose or a defect shows up down the road, you're covered. That’s a safety net you just don’t have when you go it alone.
The Professional Rescreening Process From Start to Finish
So you've decided to hire a pro to rescreen your pool enclosure—a smart move toward getting your outdoor oasis back in shape. But what really happens after you make that call? A professional job is so much more than just tearing out old screen and slapping in some new stuff. It’s a deliberate, step-by-step process that ensures your new enclosure is durable, safe, and looks fantastic for years to come.
Knowing what goes into it helps you understand the value and craftsmanship you're paying for. It all starts long before the first roll of new screen even shows up.
Meticulous Preparation: The Foundation of a Great Rescreen
The first thing a professional crew does is protect your property. This isn't a messy job when it's done right. They'll start by covering your pool surface to keep old spline, debris, and grime from contaminating the water. Your patio furniture, grill, and potted plants are also moved to a safe spot, well clear of the work zone.
Next, their attention turns to the aluminum frame itself. Any quality rescreening project begins with a thorough pressure washing. Over the years, that frame collects a stubborn layer of dirt, green algae, and chalky oxidation. Blasting this gunk away doesn't just make it look better; it ensures the new spline can seat firmly in a clean channel, which is key to getting that tight, secure fit. We've got more tips on this in our guide on how to prepare your enclosure for rescreening.
Careful Removal and Structural Inspection
Once the frame is clean, the teardown begins. This is where attention to detail really separates the pros from the amateurs. The crew systematically removes every old screen panel and—just as important—every single inch of old spline that held it in. Leaving behind fragments of brittle, sun-baked spline is a rookie mistake that prevents the new screen from being installed correctly, leading to weak spots that fail prematurely.
With each panel gone, the bare aluminum frame is exposed. This is the perfect time for a detailed inspection. Experienced technicians know exactly what to look for:
- Corrosion: Especially around the base and on fastener heads where moisture loves to collect.
- Loose or damaged cables: These tension cables are vital for your enclosure's structural integrity.
- Bent or damaged frame members: Storms or falling tree limbs can cause damage that you'd never see with the old screen on.
This inspection is one of the biggest perks of hiring a pro. It catches small issues before they snowball into major, expensive structural failures, ensuring your new screens are installed on a solid, safe foundation.
This comparison really highlights the difference between a typical weekend warrior project and what a professional service delivers.

As you can see, professionals bring specialized equipment and a structural checkup to the table, resulting in a much safer and longer-lasting job.
Expert Installation and Hardware Upgrades
Now for the part that truly showcases professional skill: installing the new screen. Technicians work panel by panel, cutting each piece of screen to the precise size needed. Using specialized tools, they roll the new spline into the frame’s channels, carefully stretching the screen as they go to create that signature drum-tight finish without any wrinkles or sags. They work methodically, usually starting with the roof panels and moving down to the walls to ensure every section has perfect tension.
A professional installer knows how to work with the material, not against it. They understand just how much tension a screen can take without being overstretched—a balance that's crucial for a long-lasting installation that can handle Florida's wind and rain.
During the installation, another critical upgrade often happens. The original screws holding the enclosure together are usually steel, which rusts quickly in our humid, salty air. A reputable company will replace these old, corroded fasteners with high-quality, corrosion-resistant ones. It seems like a small detail, but it makes a massive difference in the structural longevity of your pool cage, preventing ugly rust stains and strengthening the entire frame for years.
The Final Inspection and Thorough Cleanup
The job isn’t done when the last panel is in place. The hallmark of a true professional is leaving your property cleaner than they found it. The crew will do a full cleanup, hauling away all the old screen, discarded spline, and any other debris from your yard.
Before packing up, they perform a final walkthrough. The lead tech will inspect every single panel to confirm the tension is uniform and the spline is seated perfectly. They’ll also check the screen doors, making sure they open smoothly and close securely, and will replace old bug sweeps or adjust the hardware if needed. This final quality check is their guarantee that every part of the job meets their high standards—and yours. It’s this meticulous start-to-finish approach that ensures your rescreening project delivers the lasting results you expect.
Budgeting for Your Pool Enclosure Rescreen
Figuring out the costs and timelines for rescreening your pool enclosure is always the first step. Let's get into the numbers so you have a realistic picture of what to expect, making sure there are no surprises when you get the final invoice. Several key things will influence the price, and knowing what they are helps you plan like a pro.
The final cost of rescreening a pool cage isn't a simple, one-size-fits-all number. The biggest factors are the total square footage of your lanai, its height, and, of course, the specific type of screen you pick. A large, two-story enclosure is naturally going to cost more than a standard single-story cage—it simply requires more material and more labor.
Key Factors That Influence Your Quote
Your choice of screen material plays a massive role in the overall budget. While standard fiberglass screen is the most economical route, many Tampa Bay homeowners are choosing to upgrade to premium materials. These options offer far better durability and other specialized benefits that are well worth it in the long run.
Here’s a look at how different screen types can impact your bottom line:
- Standard Fiberglass Screen: This is your baseline. It offers good visibility and airflow at an affordable price, but you can expect it to last about five to seven years in the harsh Florida sun.
- Pet-Resistant Screen: If you have pets that love to climb or scratch, this heavy-duty, vinyl-coated polyester screen is a no-brainer. It's an investment that prevents constant, costly patch repairs down the road.
- Solar-Blocking Screen: This screen is designed to block a significant amount of UV rays. It's a game-changer for keeping your pool and patio area cooler while also protecting your outdoor furniture from fading.
- Premium Polyester Screen: For maximum longevity, you can't beat premium polyester screens. They can last up to three times longer than standard fiberglass, offering superior strength and resistance to fading.
Beyond the screen itself, the condition of your enclosure's frame is another critical piece of the puzzle. If there are corroded sections of aluminum, or if the original fasteners are rusted out and need to be replaced with corrosion-resistant hardware, these necessary repairs will be factored into the final price.
Understanding Average Costs And Timelines
For homeowners here in Florida, rescreening a pool enclosure has become a really smart financial move. The average cost runs between $7 and $9 per square foot, which includes all materials and labor. This is just a fraction of the cost to build a new one from scratch, which explains why it’s such a popular way to boost curb appeal before selling a home.
A professional crew can typically complete a full rescreening project on a standard-sized pool enclosure in just one to three days. This timeline allows them to do meticulous work, from pressure washing the frame and removing the old materials to installing each new panel with perfect tension.
Keep in mind that unforeseen issues can stretch this timeline. If significant structural damage—like bent frame members or failing tension cables—is discovered once the old screens come off, addressing those problems will add both time and cost to the project.
Finally, remember that a well-maintained enclosure adds real value to your home. When you understand the benefits of rescreening your patio for shade, privacy, and protection, you'll see it's more than just a repair. It's a true upgrade to your lifestyle and your property's value. When you're budgeting, think of it as an investment that pays you back in both enjoyment and curb appeal.
How To Choose A Rescreening Contractor In Tampa Bay
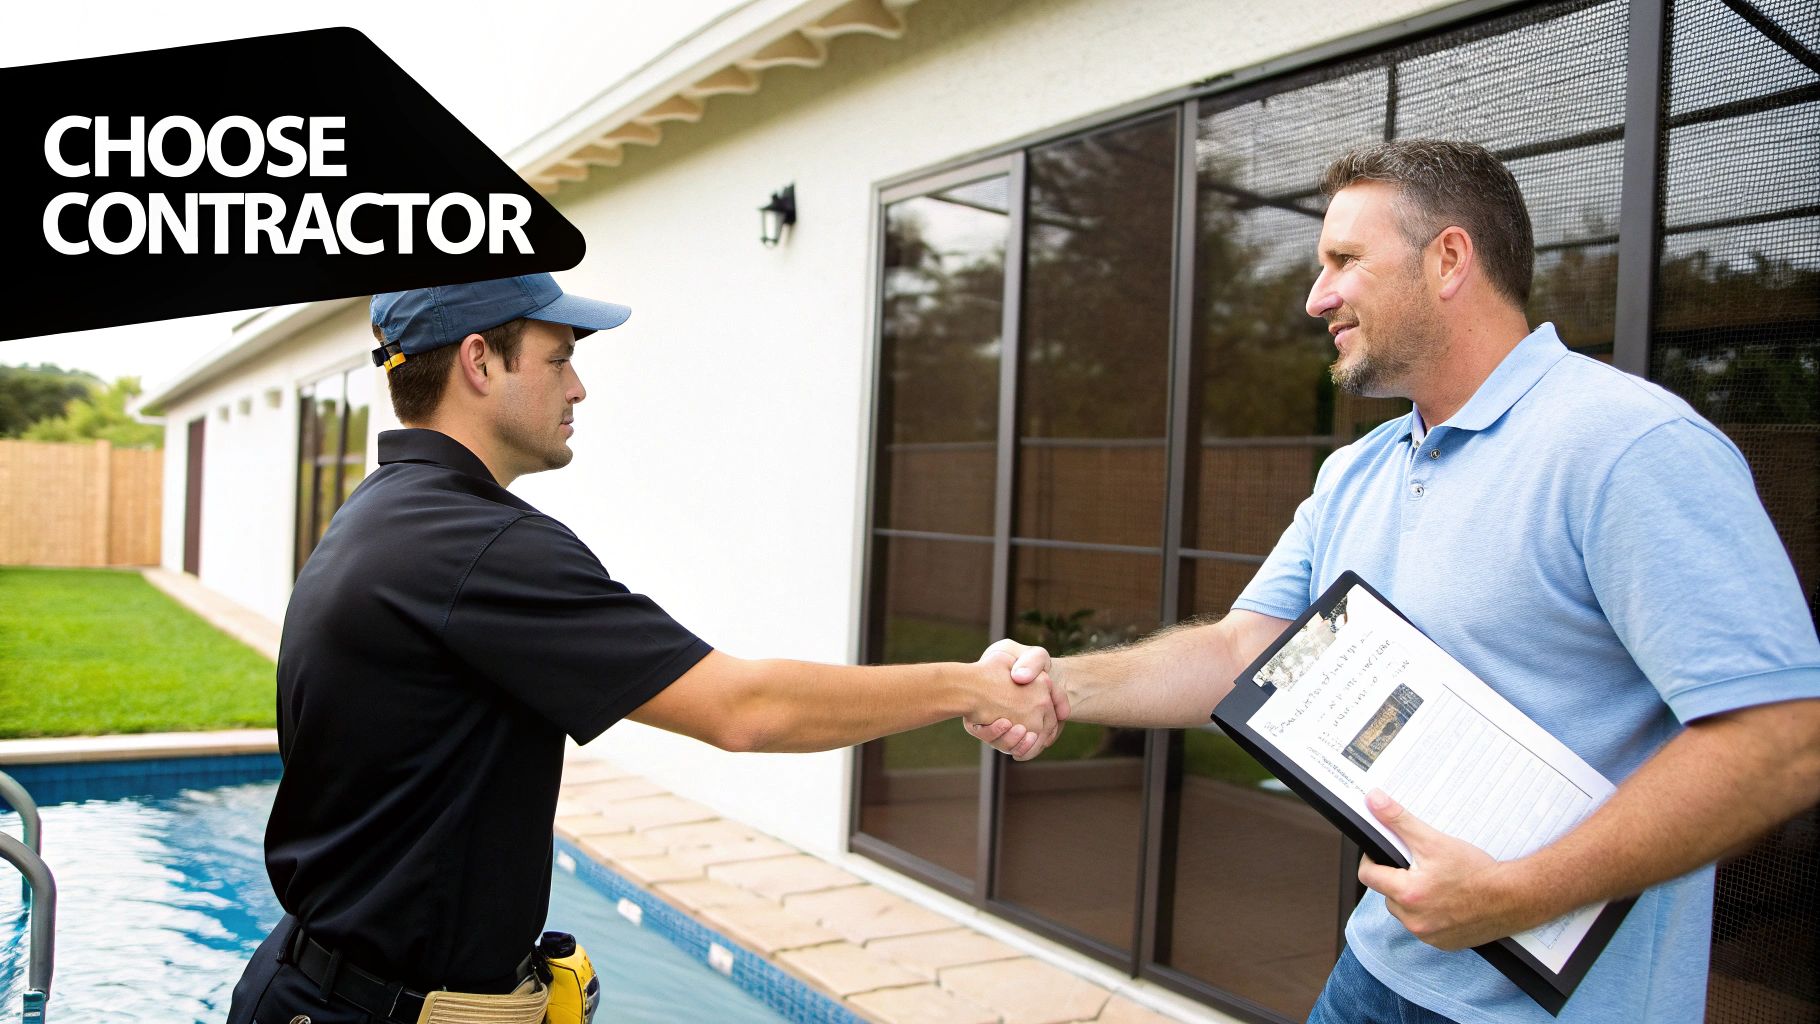
Finding a solid, reliable company for rescreening your pool enclosure in the Tampa Bay area can feel overwhelming. With so many options out there, how do you sort the seasoned experts from the fly-by-night operations?
Making the right choice is about more than just a good price. It’s about getting quality work that lasts and protects your investment for years to come. This guide gives you a practical checklist to vet local specialists and ensure you hire a company you can trust.
Verify Licensing And Insurance First
Before you even think about scheduling an estimate, do a quick background check. This is the absolute non-negotiable first step: any contractor setting foot on your property must be fully licensed and insured in Florida.
This is your safety net. It protects you from any liability if an accident happens on your property during the job. Ask for their license number and proof of both general liability and worker's compensation insurance. A professional company will have this information ready without any hesitation.
Prioritize Deep Local Experience
There's a huge difference between a general contractor and one who specializes in screen enclosures right here in Tampa Bay. A company with years of local experience brings knowledge you just can't fake. They know how our intense sun, salty air, and hurricane-force winds beat down on screen enclosures.
That local expertise means they’ll recommend the right materials and use installation techniques proven to hold up against our unique weather.
A contractor who has been serving Pinellas, Hillsborough, and Manatee counties for years has a proven track record. They know which materials hold up best and have built a reputation they need to protect with every job.
Jump online and read recent reviews on sites like Google. This gives you an unfiltered look at their work and customer service. Look for comments about their punctuality, communication, and how they handled any unexpected issues. A pattern of positive feedback is a great sign.
Ask The Right Questions During The Estimate
The estimate isn't just about getting a number—it’s your chance to interview the contractor. A true professional will be transparent and happy to walk you through the details of the job.
Use this time to gauge their expertise. Here are the critical questions you should be asking:
- What specific brand and grade of screen will you use? A vague answer is a major red flag. They should be able to tell you the manufacturer and the exact type (e.g., 18/14 fiberglass, pet screen, etc.).
- Is the replacement of all spline included? Some companies try to cut corners by reusing old, brittle spline. This is a bad idea, as it compromises the screen's tension and drastically shortens its lifespan.
- Do you replace rusty fasteners? Swapping out old, corroded screws for new, corrosion-resistant hardware is a critical part of a quality rescreening project. It prevents those ugly rust stains and protects the structural integrity of your cage.
- What does your warranty cover? Get the specifics. Does it cover materials, labor, or both? And for how long? A good warranty shows they stand behind their work.
- How will you protect my property and handle cleanup? A professional crew will explain their process for protecting your pool, deck, and landscaping. They should also haul away all the old screen and materials, leaving your yard spotless.
Doing this homework is especially important in our market. After a big storm, the demand for durable pool cages surges. In fact, the Florida screen enclosure market has a 6.5% CAGR, driven by storm resilience. Historical data shows that in Tampa Bay, 40% of enclosures suffered screen tears after just 15 named storms, often requiring a full rescreen.
By choosing a qualified, experienced local contractor, you’re not just getting new screens—you’re investing in peace of mind for whatever weather comes our way.
Common Questions About Pool Enclosure Rescreening
When you’re thinking about getting your pool enclosure rescreened, it’s natural to have a few questions. From picking the right materials to figuring out how long the job will last, getting solid answers helps you feel confident about the investment you’re making in your home. Let's tackle some of the most common questions we hear from homeowners all over the Tampa Bay area.
And it’s a smart investment to be thinking about. The demand for quality pool enclosures is growing, with the market valued at $1.2 billion and expected to hit $2.1 billion by 2033. Since residential pools account for 70% of that demand, keeping them in great shape is a top priority. In our climate, with the constant sun and salt air, most screens need a refresh after about eight years. You can dig deeper into the swimming pool enclosure market forecast to see the full picture.
How Long Should a New Screen Last?
This is easily the question we get asked the most, and the truth is, it all comes down to the screen you choose.
A standard fiberglass screen—the most common and budget-friendly option out there—will typically give you five to seven years before the intense Florida sun makes it brittle and easy to tear. It gets the job done for the short term.
But if you’re looking for a more "do it once, do it right" solution, upgrading to a premium polyester screen is the way to go. These high-performance screens are seriously durable and can last up to three times longer than fiberglass. They often come with warranties that back up their longevity, making the upfront cost well worth it in the long run.
Think of it this way: a standard screen gets you through the next several years, while a premium screen is an investment in your home's next decade. Your choice really depends on your budget and how long you plan to be in your home.
Can I Just Replace One or Two Damaged Panels?
Absolutely. If a stray golf ball or a fallen branch takes out a single panel, a spot repair is a perfectly good fix. This approach makes the most sense when the rest of your screens are still in good shape—usually less than five years old and not showing any signs of fading or brittleness.
However, if you're looking at multiple damaged panels, or if the screens are already getting up there in age, a full rescreen is the much smarter move. Patching old, weakened screen is really just a temporary fix. Before you know it, another panel will give out, and you'll be right back where you started. A full rescreen gives you a clean, uniform look, consistent strength across the entire enclosure, and completely resets the clock.
What Is the Difference Between Screen Types?
Picking the right screen material can completely change how you use and enjoy your outdoor space. While there are a bunch of specialty options, most fall into a few key categories, each designed for a specific job.
- Standard Fiberglass Screen: This is the industry workhorse. It offers great visibility and is easy on the wallet, making it a solid baseline choice for most enclosures.
- Pet-Resistant Screen: If you have dogs or cats, this one's a game-changer. Made from a tough, vinyl-coated polyester, it’s seven times stronger than standard screen and built to handle claws and paws without tearing.
- Solar Screen: This screen is designed to block a large chunk of the sun's UV rays. It makes a real difference in keeping your patio and pool area cooler and stops your outdoor furniture from fading.
- No-See-Um Screen: With its extra-tight weave, this screen is your best defense against Florida's tiniest pests, like gnats and other little biters that can wiggle through standard mesh.
Each type brings something different to the table, letting you customize your enclosure to fit your family's lifestyle perfectly.
Your pool enclosure is a huge part of your home's value and your family's enjoyment. At Rescreen Rescue, we're all about using top-quality materials to make sure your outdoor space is beautiful, functional, and ready for whatever Florida throws at it. Contact us today for a free, no-hassle estimate.