


Rescreening a pool cage is a full-scale restoration, not just a quick patch job. The process involves a complete replacement of all screen panels and splines, along with a careful inspection and prep of the aluminum frame to make sure the final result is tough and long-lasting. It’s a project that truly revitalizes your entire outdoor living area.
Your Pool Cage Rescreening Process At A Glance
Understanding what’s involved with rescreening a pool cage helps set the right expectations for the project's timeline and what you’ll get in the end. Think of it as a journey with distinct stages, each one building on the last to create a flawless and secure enclosure. This is so much more than just swapping out old fabric; it’s a systematic restoration of your outdoor oasis.
This process ensures every single component—from the biggest screen panel down to the smallest fastener—is addressed. The goal is a uniform, drum-tight finish that looks fantastic and, most importantly, keeps the pests out. Beyond just looking good, the benefits of rescreening your patio include better shade, privacy, and protection from the elements.
The Three Core Stages Of Rescreening
The whole project can be broken down into three fundamental phases: inspection, preparation, and installation. Each step is absolutely critical for a high-quality, professional finish that will stand up to Florida's demanding climate.
This visual guide gives you a great snapshot of the essential flow of a professional rescreening project.

As you can see, a successful rescreen starts long before any new screen goes up. It’s all about focusing on the structural integrity and meticulous prep work first.
A professional rescreening is a proactive investment in your property. It not only restores the enclosure's primary function—keeping bugs out—but also protects the structural integrity of the aluminum frame from the stress of old, sagging screens.
To give you a clearer picture, here is a breakdown of the entire rescreening process into clear, manageable phases so you know exactly what to expect from start to finish.
The Main Stages of a Professional Pool Cage Rescreening
- Stage 1: Inspection
- Key Activities: A technician thoroughly inspects the aluminum frame for corrosion, storm damage, and checks all hardware, like screws and door closures, for rust or failure.
- Primary Goal: To identify all structural issues and hardware failures before work begins to ensure a comprehensive and lasting repair.
- Stage 2: Preparation
- Key Activities: This involves removing every old screen panel and the rubber spline holding it in place, followed by pressure washing the frame to remove dirt, mold, and algae.
- Primary Goal: To create a clean, stable foundation for the new screen and prevent premature wear from trapped grit or grime.
- Stage 3: Installation
- Key Activities: New, high-quality screens are expertly stretched and installed for a tight fit. The work area is then thoroughly cleaned, leaving your space pristine.
- Primary Goal: To achieve a flawless, drum-tight finish that enhances aesthetics, provides maximum protection, and stands the test of time.
Each phase is designed to build upon the last, guaranteeing that the final product isn't just a cosmetic fix but a true restoration of your pool enclosure's strength and beauty.
Starting With a Thorough Structural Inspection
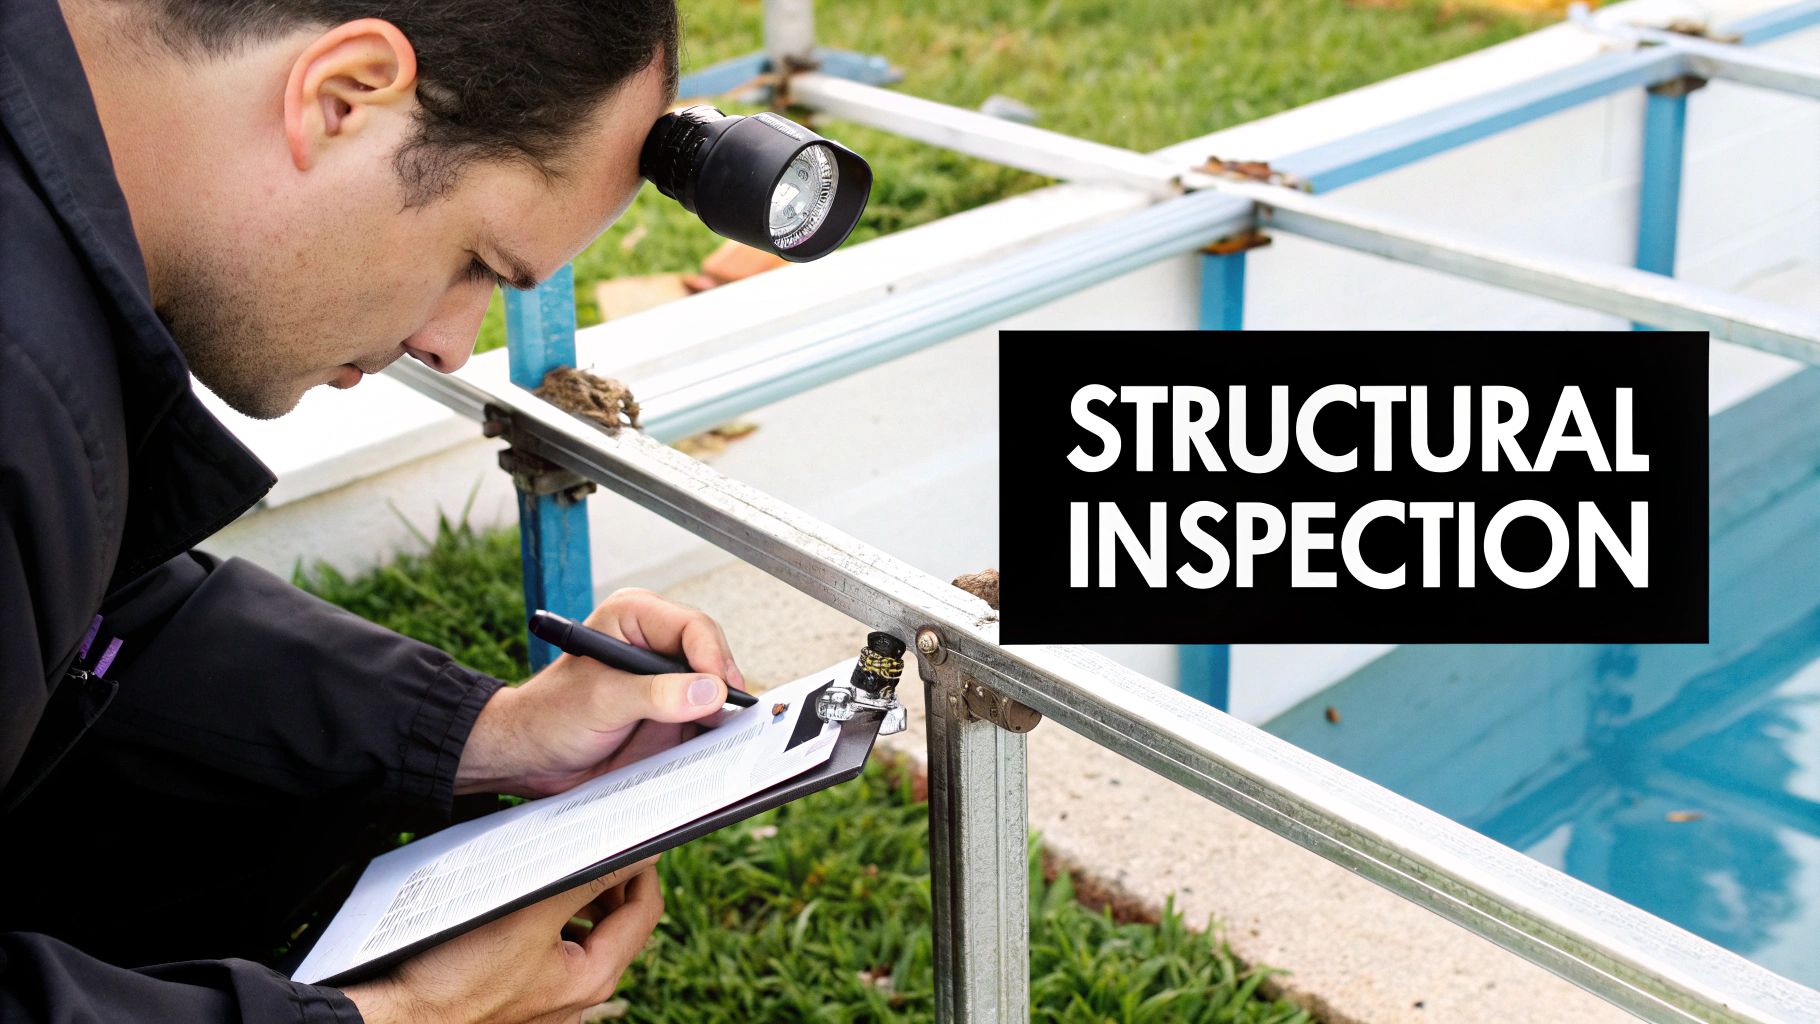
A proper rescreening job doesn’t start with a roll of new screen. It begins with a deep dive into the health of your pool enclosure’s entire structure. Think of it less as a quick glance and more like a full-scale diagnostic—we're playing detective to find any hidden issues that could compromise your new screens later on.
Our goal is to spot and flag any problems before we start, ensuring the new screen is going onto a frame that's safe, secure, and built to last. This means looking beyond the torn fabric and focusing on the aluminum skeleton holding everything together.
Assessing The Frame and Hardware
During this critical first step, our technicians go over the aluminum structure with a fine-toothed comb, looking for weaknesses you can't always see. Here in Florida, the humid, salt-filled air is tough on metal, making corrosion, wind fatigue, and subtle storm damage pretty common. We’re on the hunt for bent beams, weak joints, and any trace of oxidation that could threaten the frame.
Just as important is the hardware—all the nuts and bolts holding your cage together. We check every single component, from the tiny screws in each panel to the hinges and handles on your doors.
Rusted fasteners are a major red flag. A single rusty screw can leave ugly orange stains on your aluminum frame, but widespread hardware failure can lead to catastrophic damage during the next big storm.
This in-depth inspection is what separates a quick, temporary fix from a true, long-lasting restoration. It’s a painstaking process, especially in our hurricane-prone region. In fact, post-storm inspections often show that 75% of enclosures have significant screen damage, and up to 60% of cases reveal rusted-out fasteners that need immediate replacement.
Why This Diagnostic Matters
This thorough assessment is all about transparency. By uncovering every potential issue upfront, we can give you a completely accurate quote with no surprise costs popping up halfway through the job. It helps us determine if your enclosure is a good candidate for a simple rescreen or if a more involved restoration is the smarter move. Our guide on deciding whether to refurbish or rebuild offers more insight into this decision-making process.
Ultimately, this inspection lays the groundwork for a safe, sturdy, and beautiful result. By addressing the frame and hardware first, we make sure your new screens are installed on a solid foundation, ready to handle Florida weather for years to come. It’s the single most important step in making sure your investment is protected.
Prepping The Enclosure For A Flawless Finish
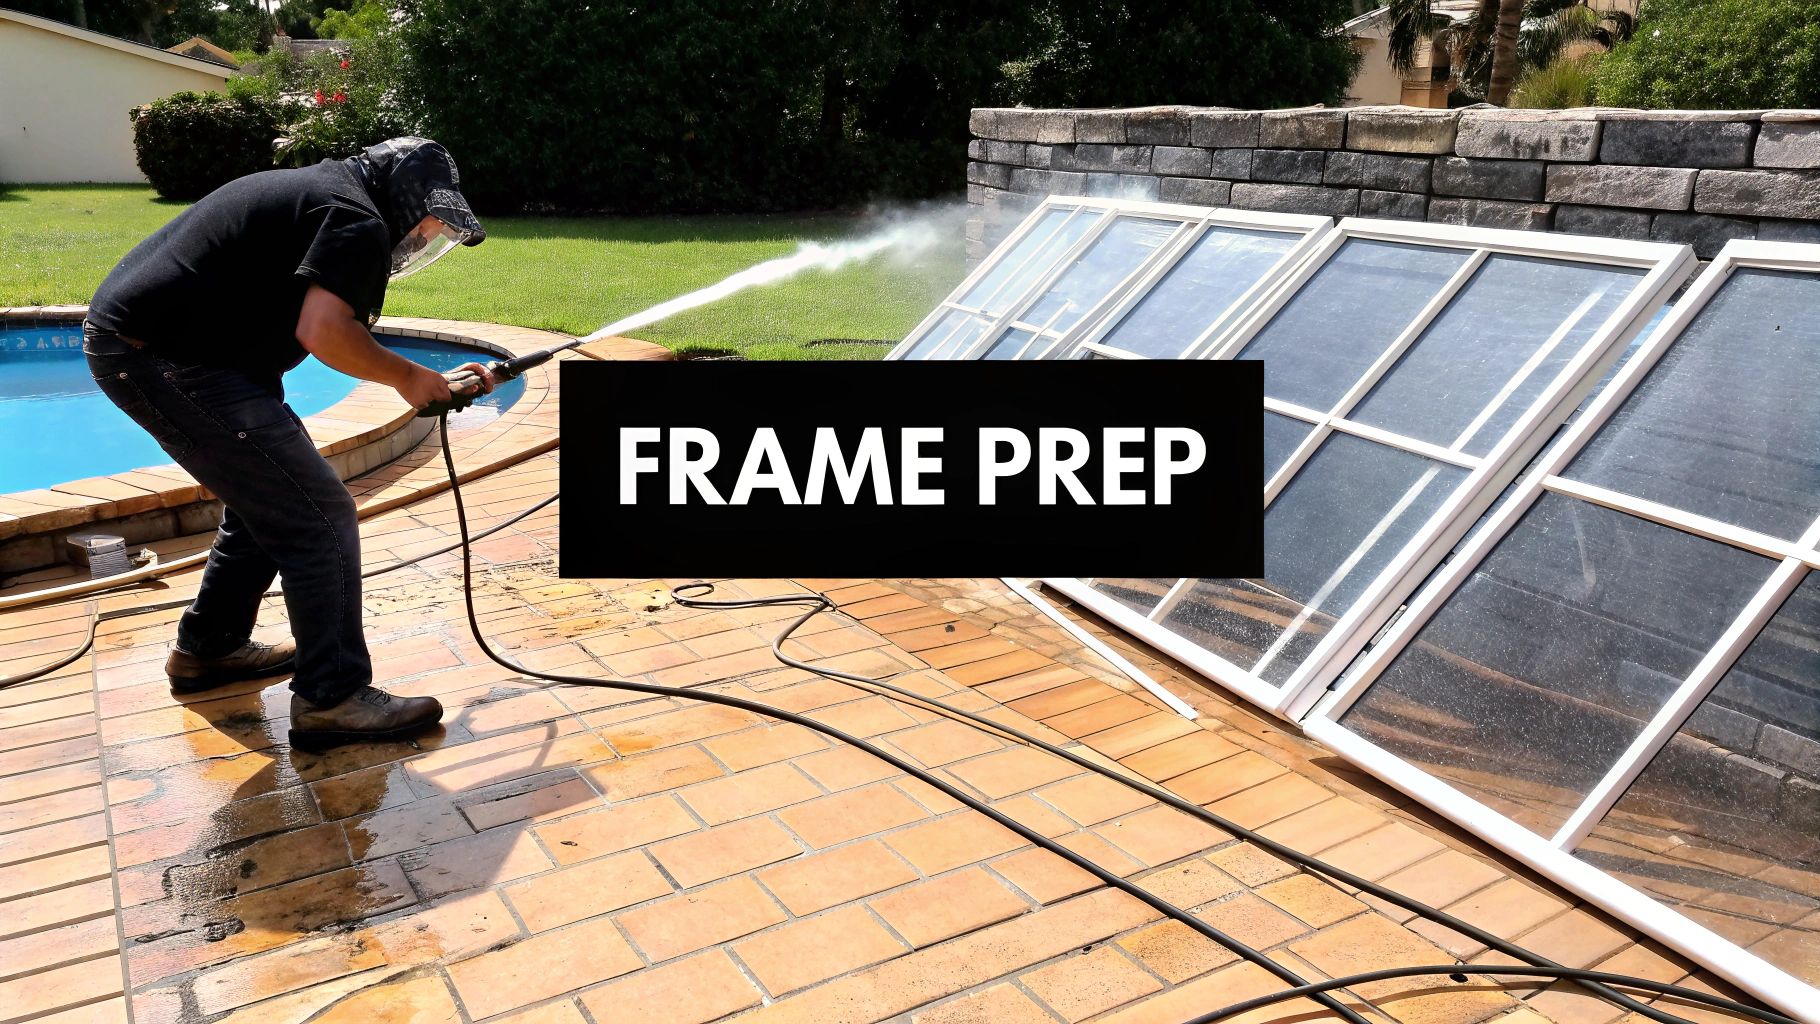
Once the structural check-up is done and we have a solid game plan, it's time to roll up our sleeves and get to work. This prep phase is easily one of the most critical steps in the entire rescreening process. It’s all about laying the groundwork for a durable, professional finish that will stand up to the Florida elements for years.
The first order of business is stripping every last bit of the old screen off the frame. Our technicians carefully pull out the old, brittle spline—that's the rubber gasket holding the screen in place—and get rid of all the worn-out fabric. This isn't a patchwork job. A true rescreening demands a completely fresh start.
Why We Never Just Patch The Old Screen
Trying to fix just one or two panels on an old enclosure is a bit like putting a single new shingle on a 20-year-old roof. Sure, it might plug a hole for a little while, but it looks mismatched and leaves the rest of the structure just as vulnerable as it was before. The other old screens are guaranteed to fail soon, and you'll be stuck in a frustrating cycle of endless repair calls.
A full replacement ensures every single panel has the same tension, the same strength, and the same UV resistance. This creates a uniform, drum-tight finish that doesn't just look incredible—it also distributes wind load evenly across the entire cage, protecting the aluminum frame itself from stress.
Cleaning And Repairing The Frame
With the old screen gone, the cage’s aluminum skeleton is completely exposed, giving us the perfect opportunity to give it the deep clean it desperately needs. We get out the pressure washer to blast away years of caked-on dirt, stubborn green algae, and that corrosive salt buildup common in our coastal air.
This step isn't just for looks. It ensures the new spline and screen will seat perfectly into clean channels, which prevents premature wear and tear down the line.
After the deep clean, we tackle any structural problems we found during the initial inspection. This is the best time to make repairs and get the framework rock-solid before the new screen goes on.
- Hardware Replacement: We swap out all rusty or compromised fasteners with new, corrosion-resistant hardware.
- Structural Adjustments: Any bent beams are carefully straightened, and we tighten up any loose connections to restore stability.
- Door Tune-ups: We'll also adjust or replace the door hardware so every entrance opens smoothly and closes securely.
This meticulous prep work is non-negotiable for a high-quality job. If you're wondering what you can do to help the process along, we've put together a guide on how to prepare your enclosure for rescreening. By starting with a pristine and structurally sound foundation, we set the stage for a flawless installation.
Choosing The Right Screen For Your Lifestyle
When it’s time to rescreen your pool cage, the materials you pick will directly shape its durability, how it functions, and what it looks like for years to come. This isn't just about looks—it’s about matching the enclosure's performance to your family's actual life. Picking the right screen and hardware is easily one of the most critical steps in making sure your investment holds up.
Think of it like choosing tires for a car. You wouldn't slap standard highway tires on a truck you plan to take off-roading, right? In the same way, a home with a couple of big, energetic dogs needs a much tougher screen than a home without pets. Let's walk through the most popular options to find the perfect fit for you.
Comparing Popular Screen Materials
Every screen type brings something different to the table, from blocking the tiniest gnats to standing up against pet claws. The trick is figuring out what your biggest priority is. Is it keeping out pests, surviving your golden retriever's zoomies, or just getting a solid, all-around screen?
Use this breakdown to choose the perfect screen type for your pool cage based on your specific needs and priorities.
A Quick Comparison of Pool Screen Materials
Here is a look at the most common types of screens for lanais and pool enclosures, their benefits, and who they are best for.
- Standard Fiberglass Screen
- Primary Benefit: Offers a great balance of visibility and airflow.
- Best For: Homeowners needing basic bug and debris protection on a budget.
- No-See-Um Screen
- Primary Benefit: Features a tighter weave that blocks tiny insects.
- Best For: Homes near water, conservation areas, or anywhere with gnats and other small pests.
- Pet-Resistant Screen
- Primary Benefit: Resists tears and punctures from animal claws.
- Best For: Families with dogs, cats, or active kids who play near the screen enclosure.
Choosing the right material makes a world of difference. Standard fiberglass (18×14 mesh) is the industry workhorse, but a No-See-Um screen (20×20 mesh) is what we recommend for nearly 40% of our service calls near beaches or pine forests where tiny pests are a constant complaint. For homes with pets, upgrading to a durable pet-resistant screen can boost its resilience against claw damage by up to 50%.
The Non-Negotiable Importance Of Quality Hardware
While the screen fabric gets all the glory, the tiny fasteners holding everything together are just as vital. Here in Florida, with our humid, salt-heavy air, standard steel screws can start rusting and failing in just a few months.
Rusted fasteners don't just leave ugly orange stains running down your beautiful white or bronze aluminum frame. As they corrode, they lose their structural integrity, weakening the entire enclosure and making it more vulnerable to wind damage.
This is exactly why we insist on using high-quality, corrosion-resistant fasteners on every single job. Spending a little extra on superior hardware is one of the smartest moves you can make for the long-term health of your enclosure. It's a small detail that pays huge dividends.
On top of that, some of the newer screen types can even help with your home's thermal performance. You can explore some of our recommended energy-efficient screen solutions in our guide on the topic.
The Art Of Professional Screen Installation

Once the frame is cleaned up and repaired, we get to the most technical part of the job: installing the new screen. This is where real craftsmanship comes into play. It's a skill that requires both precision and a surprising amount of strength to get that perfect, drum-tight finish that lasts for years. Trust me, it’s a whole lot more than just stuffing some fabric into a metal frame.
We treat every single section of your pool cage like its own mini-project. The new screen is rolled out and custom-cut for the specific panel we're working on, leaving just enough extra to get a super tight fit. Tackling it one panel at a time is the only way to guarantee maximum strength and a clean, uniform look across the whole cage.
Mastering Tension And Technique
The real secret to a professional installation is getting the tension just right. Our technicians use a special spline roller tool to push the screen and a new rubber spline deep into the aluminum channels. It’s a lot like tuning a drum—you have to pull the screen perfectly taut in every direction to create that smooth, ripple-free surface. This is where experience really makes a difference.
If the screen is too loose, it’ll sag and flap around in the wind, which puts a ton of stress on the spline and causes it to fail way too early. But if you pull it too tight, you can actually bend or warp the aluminum frame, causing permanent damage to your enclosure.
Finding that sweet spot is a skill you only learn after doing this for years. The goal is a tough, resilient surface that can handle wind and rain without ever losing its shape.
Finishing Touches For A Perfect Result
After every last panel is installed and trimmed to perfection, it's time for the final phase. This is where we put everything back together and make sure your enclosure isn't just beautiful but also fully functional, secure, and easy to use.
Here’s our final checklist before we call the job done:
- Reinstalling Doors: We carefully re-hang each door, making sure it’s perfectly aligned. It needs to open smoothly and latch securely without any sticking.
- Checking Hardware: We test all the hardware—new and old—from the door handles and hinges to the bug sweeps to make sure everything works like it should.
- Final Inspection: We do one last, thorough walk-around to check every panel for consistent tension and make sure the whole job looks flawless.
This careful attention to detail is what ensures your newly rescreened pool cage is ready for years of bug-free afternoons, turning it back into the pristine backyard oasis you love.
Understanding Project Costs and Timelines
Let's get down to the two questions every homeowner asks: "How long is this going to take, and what's it going to cost?" Getting a clear picture of the timeline and budget for your pool cage rescreening helps you plan your life and takes all the guesswork out of the equation. Honestly, these practical details are just as important as picking the right screen.
A standard, full rescreening on an average-sized pool enclosure usually takes us one to three days to complete. This schedule gives our team the breathing room to be meticulous. We don't rush—we want every single panel to be perfect and to leave your property looking spotless. Of course, a massive two-story cage or a project needing significant frame repairs might add a day or two to that timeline.
Key Factors That Influence The Price
The final cost of rescreening a pool cage isn't a simple one-size-fits-all number. Every project is unique, which is why a transparent quote should always break down exactly what you're paying for.
Here are the main things that drive the cost:
- Total Square Footage: This is the biggest one. The overall size of your enclosure determines how much screen material we'll need and the amount of labor involved.
- Screen Material Choice: As we’ve talked about, high-performance options like heavy-duty pet screens or specialized solar screens cost more upfront than standard fiberglass. However, they pay you back in durability and added benefits.
- Cage Height and Complexity: Taller cages or those with tricky angles and designs require more time, specialized gear like scaffolding, and extra safety measures, all of which can affect the labor cost.
- Add-On Services: If you decide to go all-in with services like replacing every fastener with corrosion-resistant hardware or giving the aluminum frame a professional paint job, those will be factored into the total investment.
A professional rescreening isn't just a simple repair; it's a major upgrade to your home's outdoor living space. By bringing back both its function and its good looks, you're enhancing one of your property's best features.
How You Can Help The Project Run Smoothly
To help our crew work as efficiently as possible, there are a few simple things you can do before we show up. Clearing out the deck area lets us move around safely and focus 100% on the quality of our work instead of dodging obstacles. A little bit of prep work on your end goes a long way toward a fast, seamless installation.
Here’s a quick checklist to consider:
- Clear the Deck: Please move all your patio furniture, the grill, potted plants, and any pool toys well away from the enclosure.
- Provide Access: Make sure we have a clear path to get to the enclosure and that any locked gates are accessible for our team.
- Secure Pets: For their safety and ours, we ask that you please keep your pets indoors while we're on the job.
Taking these small steps helps us deliver a top-quality result right on schedule. And remember, a well-done rescreening project does more than just make your daily life better; you can learn more about if rescreening can improve the value of your home in our detailed guide.
Common Questions About Pool Cage Rescreening
Even after walking through the entire rescreening process, it's totally normal to have a few more questions pop up. To help you feel completely confident, we've put together some straightforward answers to the things we hear most often from homeowners just like you.
Think of this as the final piece of the puzzle. The more you understand about what's involved and what to expect, the smoother everything will go, from that first phone call to the final walkthrough of your beautifully restored enclosure.
How Often Should A Pool Cage Be Rescreened?
A professionally installed screen should give you a good 10 to 15 years of service. But let's be realistic—this is Florida. The intense UV rays, relentless humidity, and seasonal storms work together to shorten that lifespan considerably.
You should start planning for a full rescreen when you notice the screen fabric feels brittle, you're seeing multiple large tears, or the panels are obviously faded and sagging. At a certain point, it's just more cost-effective to replace everything at once rather than paying for one-off panel repairs every few months.
Is It Better To Repair A Panel Or Rescreen The Whole Cage?
This really comes down to the age and overall health of your screens. If you have a single, fresh tear from a stray golf ball or a fallen branch and the rest of your screens are in great shape, a simple panel repair makes perfect sense. It's a quick, affordable fix.
However, if you're seeing multiple panels failing at the same time or your screens are pushing past that eight-year mark, a full rescreen is a much smarter investment. This approach gives you a uniform look, consistent strength across the entire cage, and breaks you out of that frustrating cycle of endless, piecemeal repairs.
A full rescreen is a definitive solution, while patching old, brittle screens is often just a temporary band-aid. It ensures every component is new, strong, and ready to protect your outdoor space for years to come.
What Is A Full Pool Enclosure Restoration?
A standard rescreening job is focused on two things: replacing the screen mesh and the rubber spline that holds it tight. A full pool enclosure restoration, however, is a complete top-to-bottom overhaul. It's the whole package.
A full restoration includes:
- A Complete Rescreen: Every last panel is replaced with brand-new, high-quality screen mesh.
- Hardware Replacement: We hunt down every rusty fastener and replace it with new, corrosion-resistant hardware.
- Structural Cleaning: The entire aluminum structure is professionally pressure washed to blast away years of dirt, algae, and salt buildup.
- Protective Painting: We apply a fresh coat of specialized paint to the frame, which not only makes it look brand-new but also adds a critical layer of protection against the elements.
Think of it less like a repair and more like a total makeover that brings your entire pool cage back to its former glory.
Ready to restore your outdoor oasis? The team at Rescreen Rescue has the experience and craftsmanship to deliver a flawless, durable finish for your pool cage, lanai, or porch. Contact us today for a free, no-obligation estimate!