


Getting ready to sell your home is an exciting but often overwhelming process. One of the most critical hurdles between your 'For Sale' sign and a successful closing is the home inspection. A buyer's inspection report filled with red flags can lead to tense negotiations, costly last-minute repairs, or even a canceled contract. What if you could anticipate and address these issues before your property ever hits the market?
This detailed home inspection checklist for sellers is designed to do exactly that. We’ll guide you through a proactive, system-by-system approach to prepare your property. You will learn to identify common inspector pain points, from the foundation and roof to the structural integrity of your pool cage or lanai's screen enclosure. This guide provides actionable steps for sellers in areas like St. Petersburg, Clearwater, and the greater Tampa Bay region, where outdoor structures are key selling points.
By tackling potential problems ahead of time, you shift from a reactive position to one of control. This not only smooths the negotiation process but also solidifies your asking price.
This checklist will help you make strategic repairs, decide between a quick DIY fix and hiring a professional, and gather the necessary documentation to present a property that inspires buyer confidence. Our goal is to move you beyond simply passing an inspection; it's about protecting your home's value and ensuring a smooth, profitable sale. Let's get your home ready for a top-dollar offer.
1. Screen Enclosure Structural Integrity and Damage Assessment
For sellers in regions like Tampa Bay, the screen enclosure is not just an amenity; it's a primary feature that faces intense scrutiny during a home inspection. A comprehensive evaluation of its structural integrity is a critical part of any home inspection checklist for sellers. This assessment involves checking the aluminum frame for corrosion, examining screen panels for tears or UV degradation, and confirming that the entire structure is sound and securely anchored. Buyers, and their inspectors, will meticulously look for signs of deferred maintenance that could translate to thousands in future replacement costs.
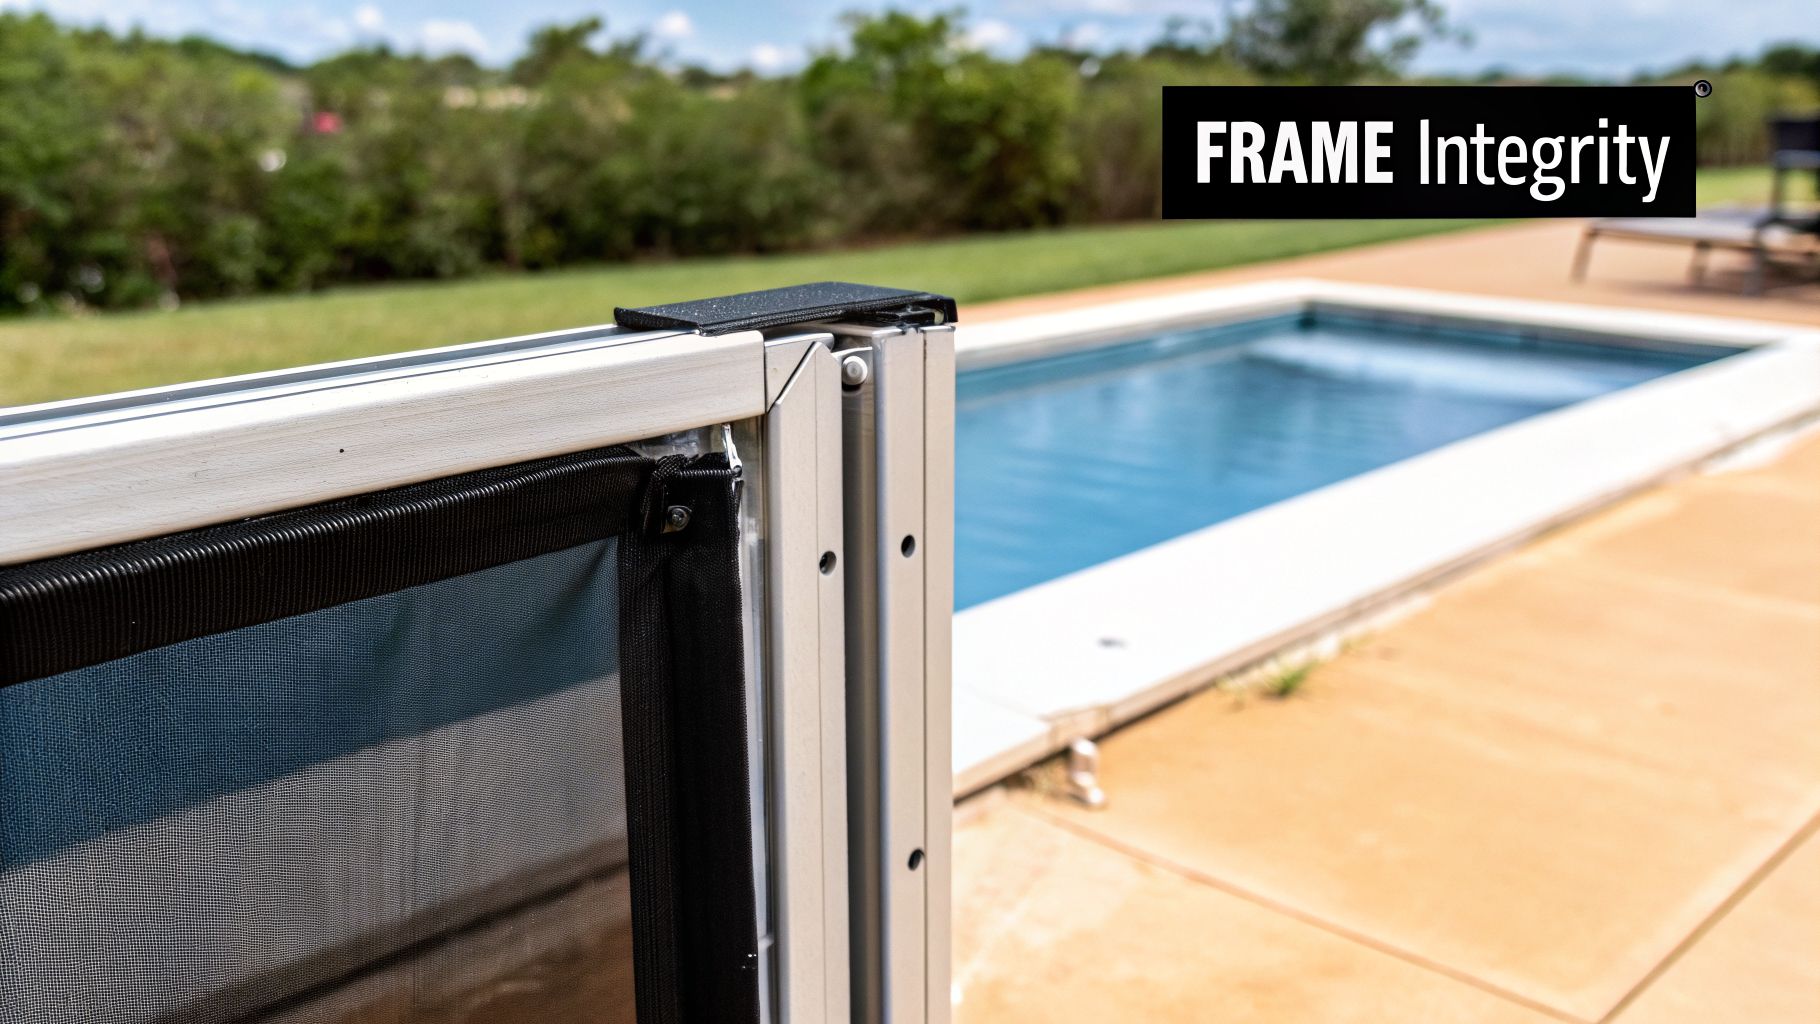
Neglecting this area can quickly devalue your property. For instance, a St. Petersburg seller who discovered significant frame corrosion during their pre-sale check was able to have the enclosure fortified with corrosion-resistant hardware. This proactive repair not only prevented inspection issues but also boosted the home's perceived value. Similarly, addressing a 15-year-old screen cage with widespread UV damage by completing a full rescreening before listing can attract more serious, premium offers from buyers who want a move-in-ready home. Even cosmetic fixes like professional pressure washing and repainting can dramatically improve curb appeal and signal a well-maintained property.
Actionable Pre-Listing Tips:
- Schedule Early: Book a professional screen enclosure inspection 2-3 months before listing your home. This buffer provides ample time for any necessary repairs without rushing before a showing.
- Document Everything: Request detailed photographic evidence of any identified damage from your inspector. This documentation is valuable for disclosure and for showing buyers that issues have been professionally addressed.
- Use Quality Materials: If repairs are needed in a coastal area, insist on corrosion-resistant fasteners and high-grade materials to prevent rapid deterioration.
- Consider Full Replacement: For enclosures over 12 years old, a full rescreening is often more cost-effective and appealing to buyers than a series of small, piecemeal repairs. It presents a "like-new" feature.
- Maintain Records: Keep all invoices and records of screen repairs, rescreening, or hardware replacement. Providing this file to potential buyers demonstrates transparency and pride of ownership.
2. Pool Cage Frame and Fascia Condition
The aluminum frame and fascia of a pool enclosure are foundational elements that inspectors review with a fine-toothed comb. For sellers, ensuring these components are in top condition is a non-negotiable part of a successful home inspection checklist for sellers. This evaluation focuses on the structural frame, the connecting fascia panels, and all hardware, looking for oxidation, separation, and rust that signal neglect. In coastal areas like St. Petersburg and Clearwater, where saltwater can accelerate corrosion, these issues are magnified and become major red flags for buyers.
Neglecting the frame's condition can significantly impact your home's perceived value and marketability. A St. Petersburg waterfront homeowner with an oxidized pool cage invested in a full restoration, which included professional pressure washing and repainting. This service added an estimated $10,000 to $15,000 in perceived value. In another case, a Tampa seller addressed separated fascia panels along the seams with targeted frame-in work and re-caulking, which eliminated pest entry points and sailed through the buyer's inspection. These examples show that addressing the frame and fascia is not just a repair; it’s a strategic investment.
Actionable Pre-Listing Tips:
- Address Separations: Immediately repair any visible separation or gaps between fascia panels. This is a common sign of structural shifting or loose connections that buyers and inspectors will spot right away.
- Invest in a Professional Clean: Schedule a professional pressure washing before listing. A clean, bright frame instantly improves the entire outdoor area's appeal and is often a standard part of full restoration packages.
- Consider Cosmetic Repainting: If the cage shows significant color fading, chalkiness, or rust streaks, a professional paint job can make it look brand-new and justify a higher asking price.
- Use Marine-Grade Fasteners: For any repairs in saltwater-adjacent areas, insist on marine-grade or commercial-grade fasteners. This prevents future corrosion and shows buyers that the repairs were done correctly.
- Document All Work: Keep detailed records of any frame repairs, hardware replacements, or professional repainting. Presenting this documentation to buyers builds trust and highlights your commitment to maintaining the property.
3. Door and Hardware Functionality and Corrosion Status
Often overlooked, the functionality of every single door and its associated hardware is a major focus for home inspectors. A comprehensive home inspection checklist for sellers must include a thorough assessment of all entry points, including screen enclosure doors, patio sliders, and pool cage access gates. In coastal climates like Tampa Bay, hardware corrosion is a glaring red flag for buyers, signaling poor upkeep and the potential for larger, hidden maintenance issues. Rusted hinges, seized locks, and non-functional closers directly impact a buyer's perception of home quality.
Proactively addressing these small details prevents them from becoming major negotiation points. For instance, a Clearwater beachfront property with heavily corroded pool cage door hardware was turning buyers away due to the unsightly rust staining. By replacing the old components with corrosion-resistant stainless steel fasteners and new marine-grade hardware, the seller eliminated a significant visual deterrent. Similarly, a St. Petersburg home with a non-functional screen door closer had the issue fixed with a single service call, immediately improving the flow and safety of the outdoor living space and satisfying the inspector.
Actionable Pre-Listing Tips:
- Prioritize Material Quality: In coastal areas like St. Petersburg and Clearwater, insist on stainless steel hardware and corrosion-resistant fasteners. This small upgrade prevents rust and guarantees long-term durability, a feature inspectors and buyers appreciate.
- Test Every Door: Open and close every door multiple times. Check for sticking, sagging, or misalignment. A door that binds or doesn't latch properly is a guaranteed inspection finding.
- Check Weatherstripping: Inspect and replace any missing, cracked, or damaged weatherstripping around exterior doors. This demonstrates meticulous attention to detail and energy efficiency consciousness.
- Upgrade High-Traffic Closers: For high-traffic pool cage or lanai doors, install a commercial-grade door closer. They are more robust and reliable, ensuring the door closes securely every time-a key safety feature.
- Document Your Upgrades: Keep receipts for any hardware replacements made within the last two years. Presenting this documentation to buyers highlights recent updates and proves a commitment to quality maintenance.
4. Mesh/Screening Material Quality and Pest Entry Points
The integrity of the screening material itself is a focal point of any outdoor enclosure inspection. In Florida's subtropical climate, where pest pressure from mosquitoes, no-see-ums, and wasps is constant, the screen's primary function is to provide a bug-free living space. This is a critical component of any home inspection checklist for sellers, as buyers will scrutinize the mesh for any vulnerability that compromises its purpose. Inspectors methodically check for holes, tears, brittleness from UV exposure, and any gaps that allow pest entry.
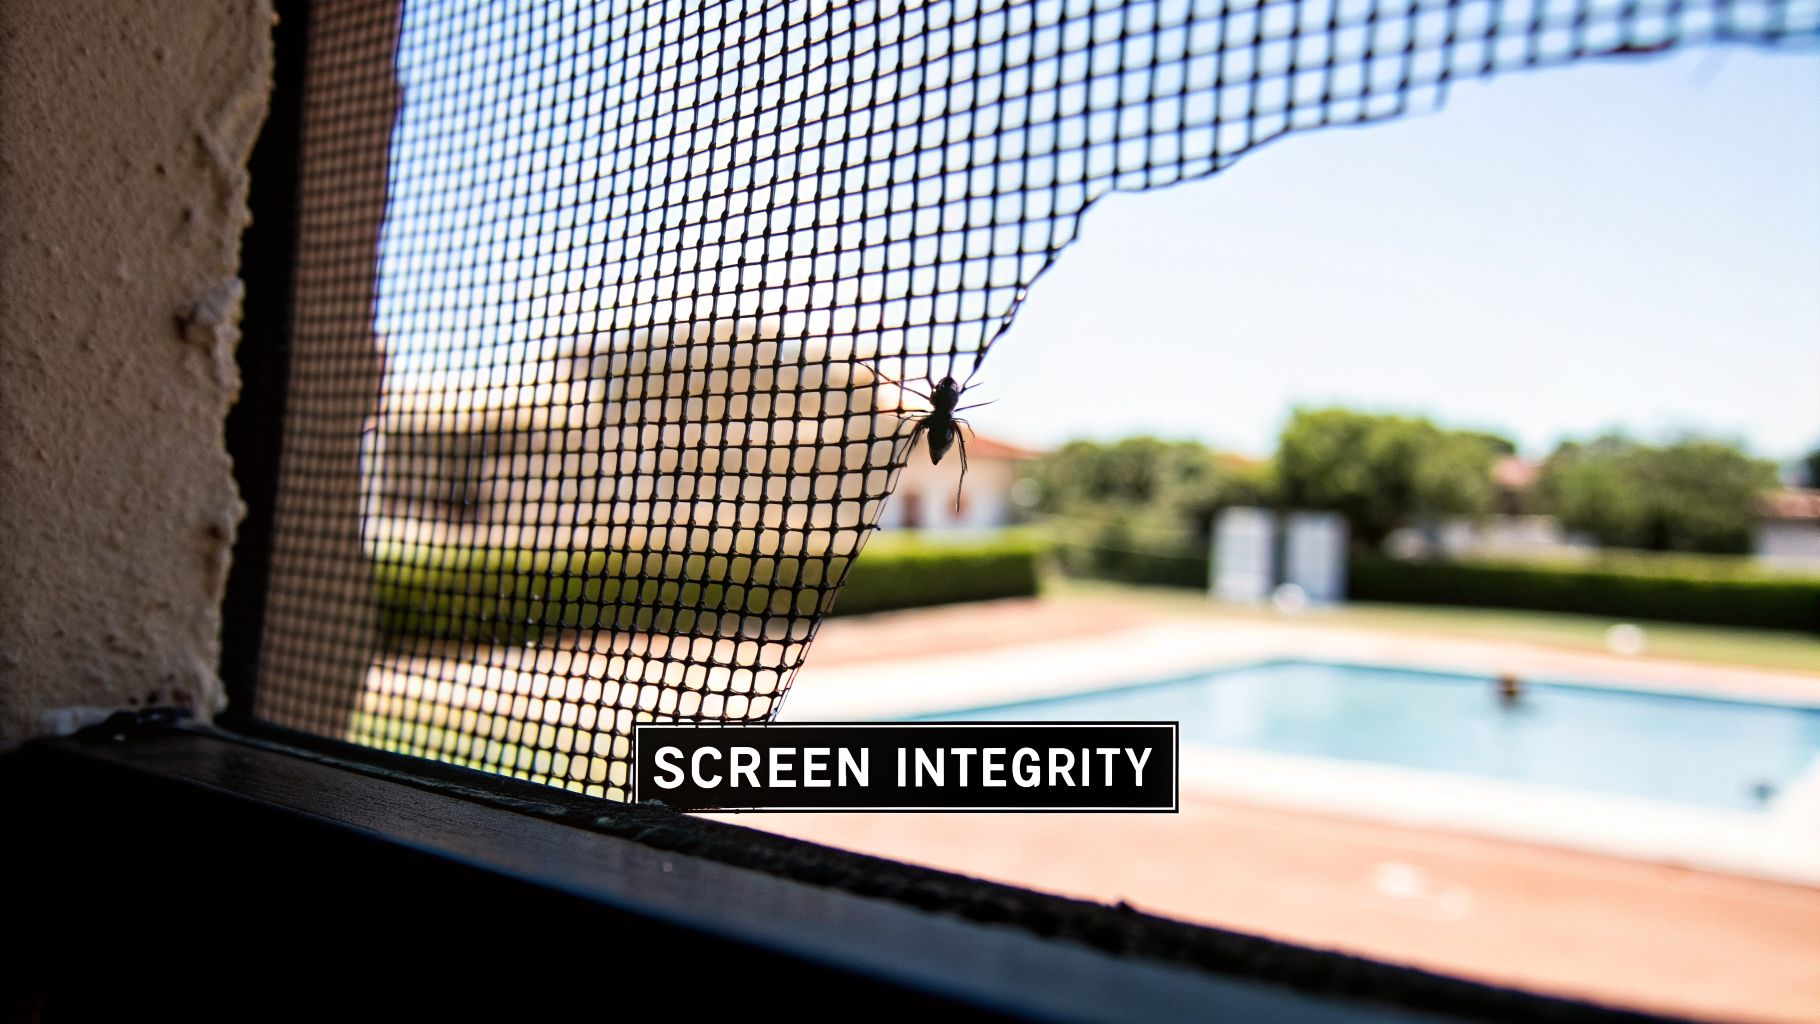
Neglecting even small tears can lead to significant buyer objections. For example, a Tampa property with multiple small screen holes was flagged for allowing constant mosquito entry, rendering the lanai unusable. The seller's decision to perform a complete rescreening with standard mesh immediately restored the space's functionality for outdoor entertaining, satisfying the inspector and buyer. In another case, a Clearwater rental property owner addressed pet-damaged screening by installing durable, pet-resistant mesh. This proactive upgrade not only prevented future damage but also appealed directly to buyers with pets, meeting a key expectation for a functional outdoor area.
Actionable Pre-Listing Tips:
- Walk the Perimeter: Before listing, slowly walk the entire enclosure perimeter, both inside and out. Look closely for even small tears or holes, as these can quickly expand and compound the pest problem.
- Consider Upgrades: If your screening is aged, consider upgrading to a specialty mesh as a premium feature. Solar screening can block significant heat, a major selling point in the summer, while pet-resistant mesh is a smart investment that appeals to a large demographic of buyers.
- Assess Patch vs. Replace: As a rule of thumb, if more than 10% of your total screening surface is damaged, a complete rescreening is often more cost-effective and visually appealing than numerous patches.
- Schedule Smartly: Book any rescreening service 3-4 weeks before your first showing. This allows ample time for the new material to cure properly and look pristine for photos and viewings.
- Document the Work: Keep the invoice for any recent rescreening or mesh replacement. Providing this documentation to buyers is tangible proof of maintenance and adds value to your disclosure package.
5. Weatherproofing, Caulking, and Water Infiltration Assessment
In a region like Tampa Bay, where annual rainfall can exceed 50 inches, an inspector’s eye for water infiltration is exceptionally sharp. A key part of any home inspection checklist for sellers involves a detailed assessment of all caulking, sealants, and weatherproofing around the screen enclosure, particularly at joints, seams, and roof connection points. Buyers are acutely aware that failed sealant can lead to water intrusion, inviting mold, rot, and structural decay that are costly to remediate.
Small gaps can cause big problems. For example, a Clearwater home’s inspection revealed water entry at the roof-to-enclosure connection, a common red flag. The seller had to address the issue, but a proactive approach would have prevented the finding altogether. In another case, a St. Petersburg property showed water stains around the fascia connections. The seller hired professionals to remove the old, degraded caulk, treat the underlying moisture, and re-seal all seams with a marine-grade sealant. This pre-listing repair completely eliminated a major point of contention for buyers and demonstrated a commitment to proper maintenance.
Actionable Pre-Listing Tips:
- Inspect After Rain: The best time to check for leaks is during or immediately after a heavy downpour. Look for active drips, water stains, or dampness around connection points, especially where the enclosure meets the fascia.
- Choose the Right Sealant: In coastal areas, don't use standard caulk. Insist on a marine-grade or commercial-grade sealant specifically rated to withstand saltwater exposure and high UV loads.
- Look for Degradation: Check existing caulk lines for a white, chalky residue. This is a telltale sign of UV degradation, indicating the sealant has lost its flexibility and waterproofing properties and needs immediate replacement.
- Manage Water Runoff: Ensure your gutters and downspouts are clean and directing water far away from the enclosure's foundation. To prevent water infiltration, regularly inspect and maintain your home's exterior drainage systems. You can find some invaluable critical gutter maintenance tips to guide your efforts.
- Time it Right: Complete all re-caulking projects 6-8 weeks before listing your home. This allows ample time for the sealant to cure properly, leaving a clean, pristine finish that looks brand new to prospective buyers.
- Keep Your Receipts: Maintain a detailed file of all invoices and work orders for caulking and weatherproofing. Providing this documentation to buyers shows transparency and proves that potential water intrusion issues have been professionally handled.
6. Pressure Washing and Overall Cleanliness
First impressions are everything, and in Florida's humid climate, the cleanliness of your screen enclosure speaks volumes to potential buyers. Algae, mildew, and dirt buildup are immediate red flags during a home inspection, signaling potential neglect. A thorough pressure washing is a non-negotiable step in any serious home inspection checklist for sellers, as it can dramatically alter a buyer's perception and prevent them from assuming the worst about your property's maintenance history.
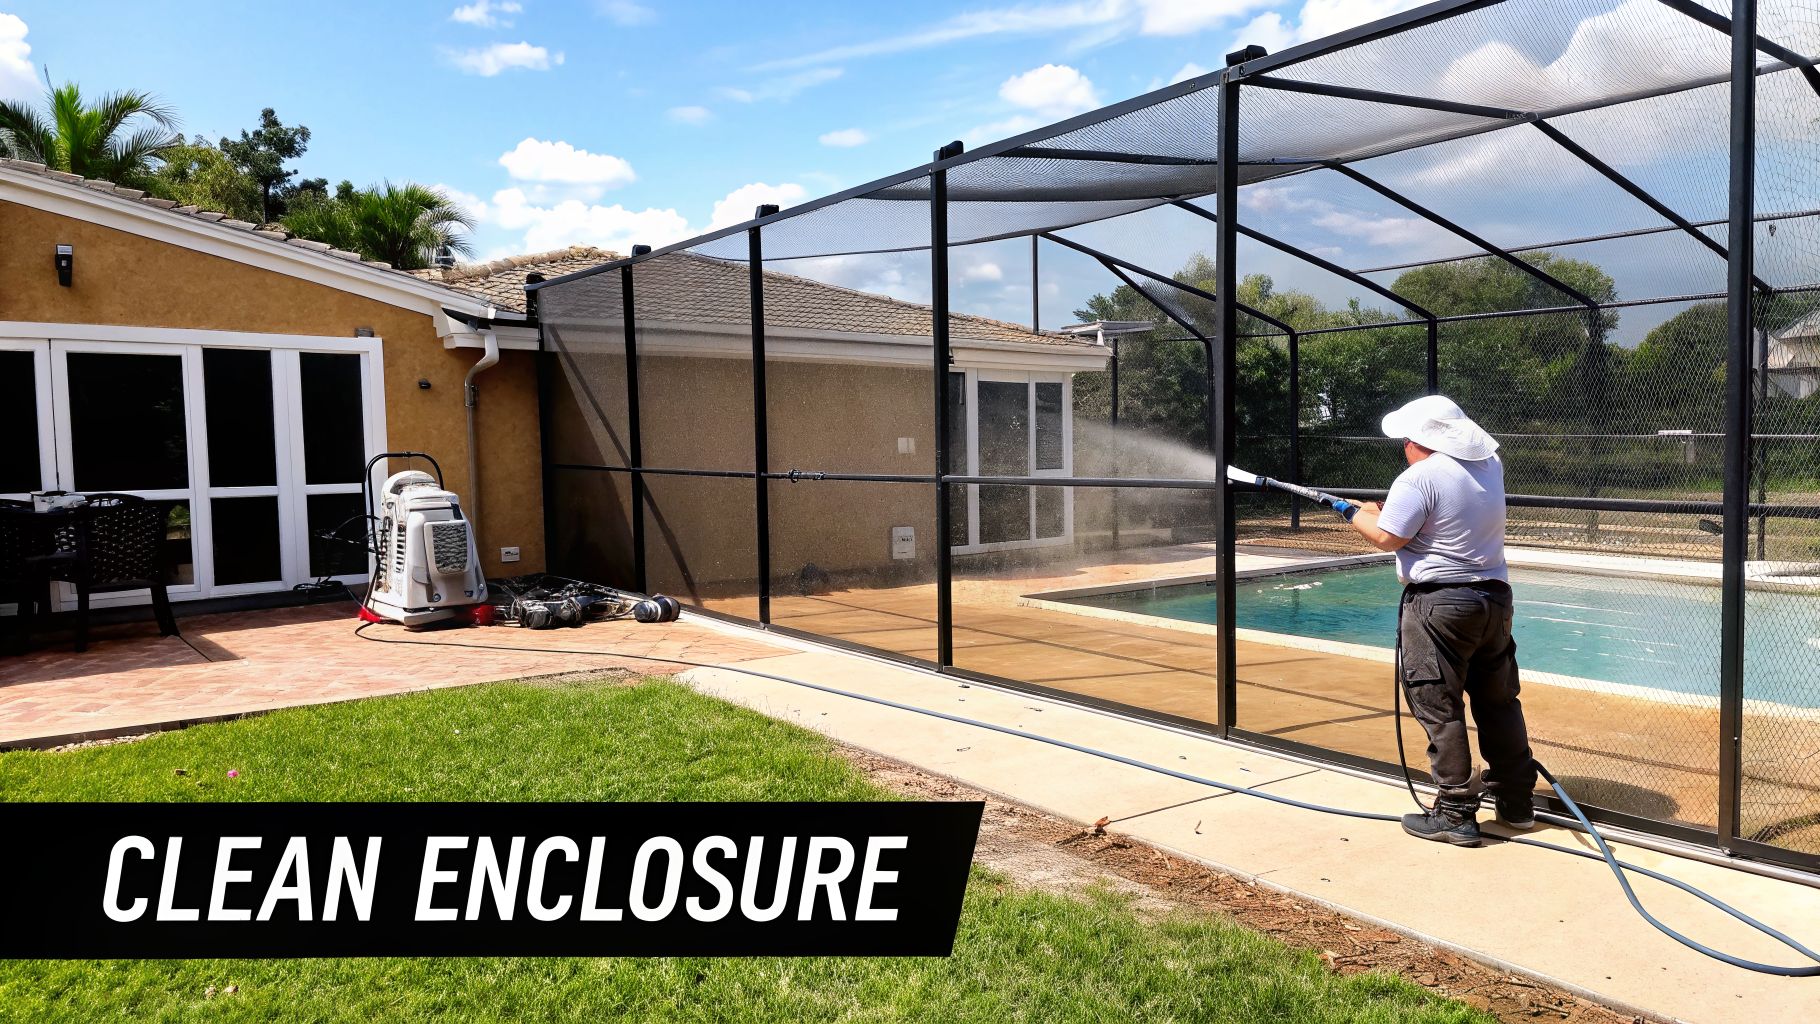
The impact of this simple step cannot be overstated. A Clearwater home with a green haze of algae on its pool cage was transformed by professional pressure washing, revealing a pristine white frame and brightening the entire outdoor space. Similarly, a St. Petersburg seller addressed unsightly rust stains from corroded fasteners by combining a pressure wash with hardware replacement, significantly boosting curb appeal. Achieving this level of deep clean is a key part of preparing for sale; using an ultimate post construction cleaning checklist can guide sellers to ensure no detail, from dusty corners to sparkling surfaces, is overlooked.
Actionable Pre-Listing Tips:
- Time It Right: Schedule a professional pressure washing service 1-2 weeks before your first showing. This ensures the enclosure looks its absolute best when buyers arrive.
- Hire a Professional: Avoid damaging delicate screening material by hiring an expert. A professional service uses the correct pressure and techniques to clean effectively without causing tears or stretching.
- Clean Gutters First: Before pressure washing the enclosure, ensure the home's gutters are clean and any debris is removed from the roof. This prevents dirt and leaves from immediately washing down onto your newly cleaned surfaces.
- Address Organic Growth: In Florida's humidity, mildew and algae can reappear quickly. Address any visible growth as soon as it appears to keep the area looking fresh for all showings.
- Document the Change: Take "before and after" photos of the pressure washing. This visual evidence can be included in your listing or shown to buyers to highlight the property's transformation and excellent condition.
7. Paint, Coating, and Finish Condition (Frame and Fascia)
The condition of the paint on a screen enclosure's aluminum frame and fascia is a critical aesthetic detail that signals the overall level of property maintenance. In Florida's intense sun and salt-air environment, standard paint can begin to peel, fade, or chalk within just five to seven years. These imperfections are immediate red flags for home inspectors and can significantly reduce buyer confidence, making this a vital component of any home inspection checklist for sellers. Buyers will view deteriorated paint not just as a cosmetic issue but as a sign of neglect that may hint at other, more hidden problems.
Addressing a lackluster finish can yield a substantial return on investment. For example, a Clearwater home with a chalky, sun-damaged aluminum frame was transformed when the owner had a marine-grade coating applied. This not only improved the appearance dramatically but also added a protective layer against future salt spray damage. Similarly, a St. Petersburg waterfront property with severely faded and peeling white paint on its pool cage received a professional repainting, which real estate agents estimated added over $12,000 in perceived value and attracted more premium offers. A fresh, uniform coat of paint makes the entire outdoor space look newer and more inviting.
Actionable Pre-Listing Tips:
- Assess in Sunlight: Evaluate the paint condition during midday direct sunlight. This is the best way to accurately see the extent of fading, chalking, or physical damage.
- Choose Neutral Colors: Stick to neutral paint colors like white, gray, or bronze. These shades have broad appeal and are more likely to match a buyer's future design preferences.
- Invest in Quality Coatings: In coastal areas like St. Petersburg and Clearwater, insist on premium, marine-grade coatings. They can last over 10 years, compared to just 5 for standard paint, a fact worth highlighting to buyers.
- Time it Right: Schedule repainting 4-6 weeks before your first showing. This allows ample time for the paint to cure properly, ensuring a pristine and durable finish.
- Keep Your Records: Document the paint type, color, and application date. Providing this information to potential buyers demonstrates transparency and good stewardship of the property.
8. Roof/Overhang Attachment and Leak Assessment
The point where a screen enclosure connects to the home's roof or soffit is a major structural checkpoint and a common source of buyer anxiety. A thorough evaluation of this attachment is a non-negotiable part of any home inspection checklist for sellers, especially in Florida where wind-driven rain and intense sun test these connections daily. Inspectors will meticulously check for proper flashing, secure fastening, and signs of water infiltration, as a failed attachment can cause serious damage to both the enclosure and the home itself.
Ignoring this critical junction point is a costly mistake. For example, a Tampa seller noticed subtle water staining on their lanai ceiling near the enclosure's roof line. An inspection by Rescreen Rescue identified corroded fasteners and failing caulk. By replacing the hardware with marine-grade fasteners and reapplying high-quality sealant, they eliminated the leak and provided documentation to the buyer, preventing a potentially contentious negotiation. Similarly, a Clearwater home with a slight separation between the enclosure frame and the roof overhang was professionally re-secured, stopping further deterioration and assuring buyers of the structure's long-term stability.
Actionable Pre-Listing Tips:
- Perform a Water Test: After a heavy rain, or by using a garden hose, carefully inspect the interior and exterior of the roof attachment points for any signs of active water infiltration.
- Look for Stains: Check interior ceilings and walls near the enclosure for discoloration or peeling paint, as these are classic indicators of a slow, persistent leak from a compromised attachment.
- Use the Right Hardware: In coastal regions, insist that any repairs use corrosion-resistant, stainless steel fasteners and marine-grade caulk to withstand the harsh, salty environment.
- Verify Proper Flashing: Ensure metal flashing is correctly installed and sealed to direct water away from the connection point, not into your walls. Poorly installed flashing is a frequent red flag for inspectors.
- Consult a Professional: For enclosures showing significant sagging, bowing, or separation from the roofline, have the structure assessed by a qualified professional before listing. This addresses safety concerns and provides peace of mind.
9. Door Thresholds, Sills, and Water Drainage
A seller’s attention to detail around entryways, especially for screen enclosures and pool areas, is a make-or-break element in a home inspection. Inspectors are trained to spot the subtle signs of water intrusion, which often start at the door. A thorough review of thresholds, sills, and surrounding drainage is a vital part of any home inspection checklist for sellers, as these areas are common failure points where water can collect and cause extensive, costly damage. Buyers are extremely wary of mold, wood rot, and foundation issues, all of which stem from poor water management at entry points.
Neglecting these details can send buyers running. For example, a Clearwater property with a poorly sealed enclosure door developed pooling water after heavy rains, leading to stained pavers and mold concerns that derailed an initial offer. In another case, a St. Petersburg seller proactively replaced a deteriorated threshold and resealed the sill after noticing water stains on the interior flooring. This small investment prevented a major inspection red flag. Similarly, addressing a high threshold that poses a trip hazard not only improves safety and accessibility but also shows a commitment to quality and maintenance that buyers appreciate.
Actionable Pre-Listing Tips:
- Perform a Rain Test: After a heavy rain, inspect all door thresholds and the adjacent flooring. Look for any signs of water pooling, dampness, or dark stains that indicate a leak.
- Check the Slope: Ensure all exterior thresholds have a slight outward slope (approximately 3-5 degrees). This simple angle is critical for directing rainwater away from the home's structure instead of letting it seep inside.
- Replace Damaged Components: Deteriorated, cracked, or soft wooden sills must be replaced immediately. They are a primary entry point for water and pests and will be flagged by any competent inspector.
- Verify Proper Drainage: Confirm that gutters, downspouts, and landscape grading effectively channel water at least six to eight feet away from your home's foundation and door entries.
- Seal Every Gap: Use a high-quality, marine-grade caulk specifically rated for continuous water exposure to seal all gaps around the threshold, door frame, and sill.
- Inspect Weatherstripping: Check and replace worn or missing weatherstripping on all exterior doors. This is your first line of defense against wind-driven rain infiltration.
- Keep Meticulous Records: Document all repairs, material receipts, and professional invoices for threshold replacements or drainage improvements. Presenting this file to buyers demonstrates diligent ownership.
10. Corrosion Assessment and Material Durability Evaluation
For sellers in coastal communities like St. Petersburg and Clearwater, a detailed corrosion assessment is a non-negotiable part of a home inspection checklist for sellers. The humid, salty air endemic to Tampa Bay aggressively attacks aluminum screen enclosure frames, fasteners, and hardware. Inspectors are trained to spot the telltale signs of saltwater corrosion, such as white oxidation, pitting, and structural weakening, which signal potential long-term durability problems and expensive future repairs for the buyer.
Proactively addressing corrosion is a direct investment in your property's saleability. A waterfront St. Petersburg home with visible white oxidation on its frame underwent a pre-listing evaluation. The owner had the standard fasteners replaced with marine-grade stainless steel hardware and a protective coating applied to the aluminum. This single action eliminated a major red flag for buyers concerned about maintenance in a saltwater environment. Similarly, a Clearwater property with pitting corrosion on its frame edges received a professional treatment that restored its appearance and provided a durability assurance, making it far more attractive than neighboring homes with visible decay.
Actionable Pre-Listing Tips:
- Prioritize Marine-Grade Hardware: If you're in a coastal area, insist on marine-grade or stainless steel fasteners for any repairs. Standard aluminum and steel corrode quickly, and savvy buyers know to look for this upgrade.
- Address White Oxidation: While cosmetic, white, chalky oxidation is the first sign of corrosion. Have it professionally cleaned and sealed with a protective coating to halt its progression and improve the enclosure's look.
- Inspect for Pitting: Look for small craters or pits on the aluminum surface. This indicates advanced corrosion that requires a professional assessment to determine if the structural integrity has been compromised.
- Document Material Upgrades: Keep invoices and records detailing the use of corrosion-resistant materials. Presenting this file to buyers justifies your asking price and demonstrates meticulous ownership.
- Replace Corroded Fasteners Immediately: Rusted or corroded screws are an inexpensive fix but can lead to frame instability and screen panel detachment if ignored. This is a common and easily avoidable inspection finding.
10-Point Seller Home Inspection Comparison
1. Screen Enclosure Structural Integrity
- Complexity: Moderate–High (structural inspection)
- Resources: Professional inspector, diagnostic time, possible repair quotes
- Outcomes: Identifies frame damage, repair scope and costs; buyer confidence
- Use Cases: Pre-sale coastal listings, older enclosures, hurricane-season prep
- Advantages: Detects costly issues early; supports fair valuation
2. Pool Cage Frame and Fascia Condition
- Complexity: Moderate (visual + restorative work)
- Resources: Pressure washing, repainting, hardware replacement, labor
- Outcomes: Restored appearance and improved structural safety; higher offers
- Use Cases: Faded/peeling cages, separated fascia, waterfront properties
- Advantages: High ROI; boosts curb appeal and marketability
3. Door and Hardware Functionality
- Complexity: Low–Moderate (functional testing + replacements)
- Resources: Replacement hinges/locks, stainless fasteners, technician
- Outcomes: Smooth operation, rust removal, reduced inspection red flags
- Use Cases: Corroded or sticky doors, coastal properties with multiple entries
- Advantages: Affordable fixes; immediate improvement in buyer perception
4. Mesh/Screening Material Quality
- Complexity: Low–Moderate (inspection, patching or full rescreen)
- Resources: Screening material (standard/solar/pet), rescreen crew, 1–3 days
- Outcomes: Bug-free outdoor space, improved comfort; optional solar/pet benefits
- Use Cases: Torn screens, pest issues, pet-damaged areas
- Advantages: Quick turnaround; specialty meshes add value
5. Weatherproofing and Caulking
- Complexity: Low–Moderate (seal inspection and re-caulking)
- Resources: Marine-grade caulk, labor, inspection during/after rain
- Outcomes: Prevents leaks/mold, improves longevity and aesthetics
- Use Cases: Visible gaps, water staining, pre-listing before rains
- Advantages: Affordable prevention; avoids costly water damage
6. Pressure Washing and Cleanliness
- Complexity: Low (surface cleaning)
- Resources: Professional pressure washing, possible chemicals
- Outcomes: Dramatic visual improvement; higher perceived value
- Use Cases: Algae/mildew-stained enclosures before showings
- Advantages: Fast, low-cost curb appeal boost
7. Paint and Coating Condition
- Complexity: Moderate (surface prep + multi-day repaint)
- Resources: Professional painting, premium/marine coatings, labor
- Outcomes: Renewed appearance and long-term corrosion protection
- Use Cases: Peeling/faded paint, coastal exposures, major curb-appeal projects
- Advantages: High ROI; protects against salt and UV damage
8. Roof/Overhang Attachment
- Complexity: High (structural review + potential repairs)
- Resources: Structural inspection, flashing, marine fasteners, possible engineer
- Outcomes: Eliminates water intrusion risk; ensures safe roof attachment
- Use Cases: Active leaks, separation from roof, hurricane-prone homes
- Advantages: Addresses major buyer safety and inspection concerns
9. Door Thresholds and Drainage
- Complexity: Low–Moderate (inspection + drainage fixes)
- Resources: Threshold replacement, grading/drainage work, caulk
- Outcomes: Prevents pooling, mold and trip hazards; improves accessibility
- Use Cases: Pool entry doors with pooling or high thresholds
- Advantages: Relatively low cost; reduces liability and water damage
10. Corrosion Assessment
- Complexity: Moderate–High (detailed corrosion survey)
- Resources: Corrosion treatment, stainless/marine-grade replacements, coatings
- Outcomes: Confirms durability or need for replacement; buyer assurance
- Use Cases: Coastal properties with oxidation or pitting
- Advantages: Justifies marine-grade upgrades and premium pricing
From Checklist To Closing Day: Your Path To A Successful Sale
Completing this detailed home inspection checklist for sellers is more than just a pre-listing task; it's a strategic move that puts you in control of your home sale. By walking through your property with the critical eye of an inspector, you've transformed potential liabilities into opportunities. You are no longer waiting for a surprise report that could derail negotiations. Instead, you are proactively shaping the narrative of your home, presenting it as a well-cared-for, turnkey property that buyers can move into with confidence. This shift from a reactive to a proactive mindset is the single most powerful step you can take toward achieving a faster, more profitable sale.
The value of this preparation extends far beyond simply avoiding a long list of repair requests. It directly impacts buyer perception and their willingness to meet your asking price. A home that shows evidence of meticulous maintenance, from the major systems down to the smallest details like clean screen enclosure tracks and corrosion-free hardware, communicates quality and pride of ownership. Buyers and their inspectors see this care and are less likely to perceive the property as a "project" with hidden costs. This reduces their perceived risk, making your home a far more attractive and secure investment in their eyes.
Key Takeaways for a Smooth Inspection
As you move forward, keep these core principles at the forefront of your selling strategy:
- Prioritize High-Impact Areas: Focus your energy on the "big ticket" items inspectors always flag: the roof, HVAC, electrical system, and plumbing. For Florida homes, this absolutely includes the structural integrity and condition of your pool cage and screen enclosure. Issues here are not just cosmetic; they raise questions about safety and storm readiness.
- Documentation is Your Defense: Don't just make repairs; document them. Keep all receipts, warranties, and contractor invoices for work done. Having a neatly organized binder with maintenance records for the HVAC, pest control, and recent upgrades (like a pool cage restoration) can preemptively answer an inspector's questions and build immense trust.
- Know When to DIY vs. Hire a Pro: A fresh coat of paint or a new faucet are great DIY wins. However, addressing corroded fasteners on a pool cage, fixing torn screen panels, or tackling any electrical or plumbing issue is best left to licensed professionals. A botched DIY job is often more obvious and alarming to an inspector than the original problem.
Ultimately, this home inspection checklist for sellers is your roadmap to removing obstacles before they ever appear. You've identified the common red flags, from a small leak under the sink to a faded and chalky finish on your lanai frame. You've gathered the necessary paperwork that proves your home’s upkeep. By addressing these items now, you are not just preparing for an inspection; you are preparing for a successful closing. You're setting the stage for a negotiation where you hold the stronger hand, backed by a property that speaks for itself. Walk into your inspection and closing day not with anxiety, but with the quiet confidence that comes from being thoroughly prepared.
Is your screen enclosure or pool cage showing its age with torn screens, faded paint, or corroded hardware? Don't let these issues become a sticking point in your home inspection. Rescreen Rescue specializes in restoring outdoor living spaces across the Tampa Bay area, ensuring they look great and pass inspection with flying colors. Contact Rescreen Rescue today to protect your home's value and secure a smooth sale.