

That torn, sagging screen around your pool is more than just an eyesore—it’s a broken welcome mat for bugs, leaves, and all sorts of other uninvited guests. Learning how to rescreen your pool enclosure is one of the most satisfying DIY projects you can tackle. It's a straightforward process that completely restores your lanai's function and beauty, and it all boils down to removing the old spline and screen, cutting the new mesh, and locking it in tight with a spline roller.
Let’s walk through how to transform your enclosure back into the bug-free retreat it was meant to be.
Why A Perfect Pool Screen Is A Smart Investment
A well-maintained pool enclosure is a core part of the Florida lifestyle, but it's something we often take for granted until things start to go wrong. Once screens begin to rip, fade, or pull loose from the frame, the entire structure stops doing its job. This isn't just about looks; it's about functionality, safety, and preserving your home's value. A full rescreen is a much more permanent and rewarding solution than just patching up holes as they appear.
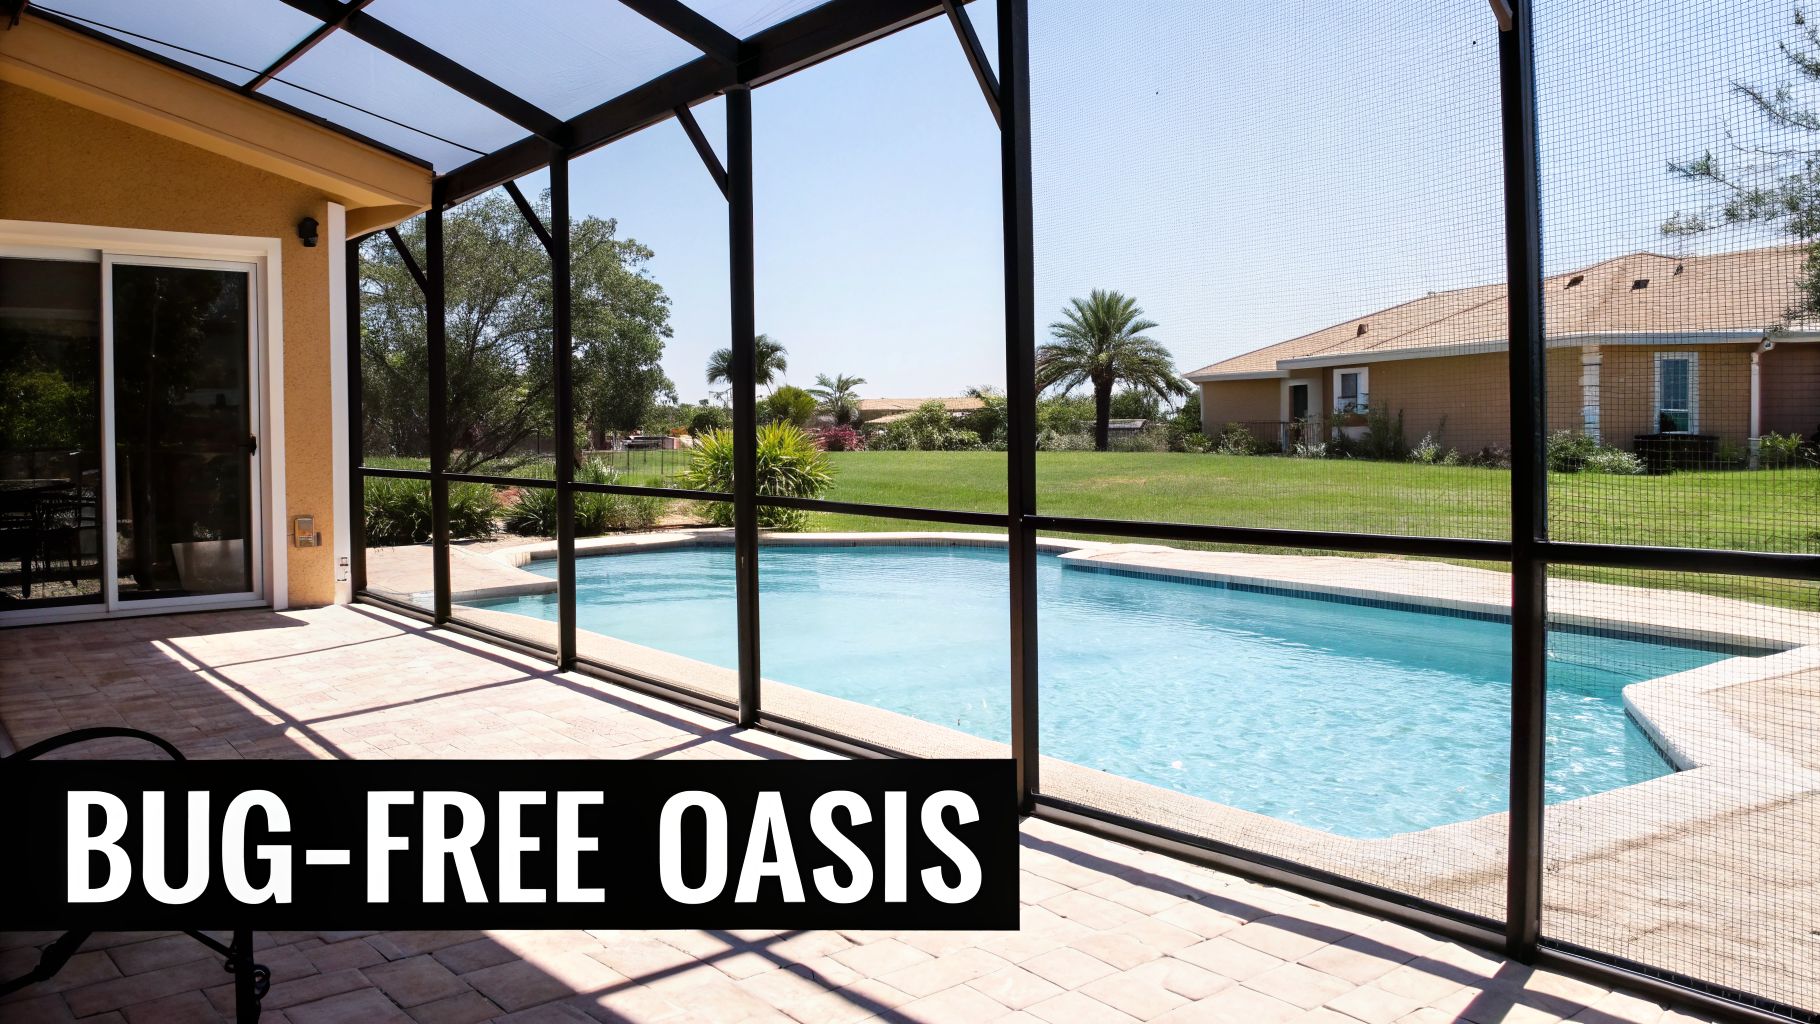
The payoff for having pristine screens goes way beyond just keeping leaves out of the water. It’s a real investment in your property and your quality of life.
The True Value of a Flawless Enclosure
A solid, intact screen serves several critical functions that have a direct impact on your daily enjoyment and long-term property appeal. A properly screened-in lanai doesn't just look sharp—it's your first line of defense against common outdoor headaches.
Just think about these key advantages:
- Pest and Debris Barrier: This is the big one. It’s what keeps out mosquitoes, no-see-ums, and other pests, not to mention all the leaves and pine needles.
- Enhanced Safety: A secure screen provides a helpful barrier, adding an extra layer of safety for kids and pets by keeping them contained within the pool area.
- UV Ray Filtration: Quality screen mesh actually filters out a good portion of the sun's harsh UV rays. This helps protect your skin and keeps your patio furniture from fading.
- Increased Property Value: A freshly screened, well-maintained pool enclosure is a huge selling point for buyers. If you're curious, you can learn more about how to increase home value before selling in our detailed guide.
A pristine pool screen transforms your outdoor space from a high-maintenance area into a low-stress, usable extension of your home. It’s the difference between constantly skimming the pool and simply enjoying it.
This isn't just a local trend; the appreciation for quality enclosures is growing everywhere. The global screen enclosure market was valued at around $2.5 billion in 2023 and is expected to hit $3.5 billion by 2028. That growth shows just how much homeowners are viewing these structures as essential improvements, not just afterthoughts.
Catching the early signs of wear—like brittle mesh or a discolored spline—is the first step toward a successful DIY project that pays for itself in both usability and curb appeal.
Getting Your Rescreening Toolkit Ready
Walking into a hardware store without a list is the fastest way to turn a one-day project into a week-long headache. To rescreen a pool enclosure the right way, you need a specific set of tools—not just a roll of mesh and some good intentions. Having everything you need laid out before you start is the secret to a smooth process.
Think of it like getting ready to cook a big meal. You wouldn't start chopping onions without knowing if you have all the other ingredients. This is your project checklist, covering not just what you need, but why each piece is critical for that tight, professional finish you're after.
The Essential Tools for the Job
The right tools do 90% of the work for you. While some of these might seem basic, don't be tempted to improvise with something from your junk drawer. The spline roller, in particular, is a non-negotiable, specialized tool that makes all the difference between a saggy, loose screen and one that looks like a pro did it.
Here’s the core list of what you'll want to have on hand:
- Utility Knife: A sharp, heavy-duty utility knife is your best friend here. Grab a pack of fresh blades, because screen mesh will dull them faster than you'd think. A dull blade is a recipe for snagging and ruining a brand-new screen panel.
- Spline Roller: This little gadget is the MVP of the entire project. It's a small handheld tool with a wheel on each end, specifically designed to press the screen and then the spline into the frame's channel.
- Flathead Screwdriver: A thin, small flathead screwdriver (or even a metal pick or awl) is perfect for digging out that old, stubborn spline that’s been baking in the sun for years.
- Pliers: A simple pair of needle-nose pliers makes it much easier to grab and pull out the old spline once you've pried an end up with your screwdriver.
- A Sturdy Ladder: Safety first, always. You'll need a reliable ladder to comfortably and safely reach every corner of the upper panels of your pool cage.
How to Use Your Spline Roller Correctly
That little spline roller isn't a one-trick pony. It has two different wheels, and knowing which one to use first is the key to getting a perfectly tensioned screen.
One end is the convex wheel (rounded-out), and the other is the concave wheel (grooved). You'll start with the convex wheel to gently push the screen material down into the groove. This creates a neat little pocket for the spline to sit in. After that, you'll switch to the concave wheel to press the spline firmly down into the channel, locking everything in place. If you mix up the order, you risk tearing the screen or ending up with a loose fit.
Choosing the Right Screen and Spline
The materials you choose are just as important as the tools you use. The screen mesh and spline have to work together perfectly. Picking the wrong size or type will completely undermine all your hard work.
Screen Mesh Options
Your choice of screen really comes down to your budget, where you live, and your lifestyle.
- Standard Fiberglass Mesh: This is the go-to for most enclosures. It’s affordable, offers great visibility and airflow, and usually holds up for about 7-10 years in the Florida sun.
- Polyester Screen: Often called "super screen," this is a big step up in durability. It’s much more resistant to tearing and sun damage, meaning it will outlast fiberglass by a long shot.
- Pet-Resistant Screen: If you've got dogs or cats with active claws, this heavy-duty, vinyl-coated polyester screen is a lifesaver. It’s significantly thicker and can handle a lot more abuse without shredding.
- Solar Screen: This type is designed to block a large percentage of UV rays. It helps keep your patio cooler and protects your furniture from fading, though it does slightly reduce visibility. For a deeper dive, check out our guide on the best window screens for different situations.
The real secret to a long-lasting, tight screen job is getting the spline diameter right. If the spline is too thin, it won't hold the screen tight. If it's too thick, you'll fight to get it in and might even damage the frame's channel.
The best way to find the right size is to take a small piece of your old spline to the hardware store and match it up. One important tip: if you're upgrading to a thicker screen (like a pet screen), you'll likely need to go down one size in spline diameter to make up for the thicker material. Nailing this little detail is what separates a frustrating DIY attempt from a professional-grade installation.
From Old Screen Removal To Flawless Installation
Alright, with your tools and materials laid out, it's time to get down to business. This is where the real work begins, turning that tired, torn enclosure into something you can be proud of, one panel at a time. We'll go from yanking out the old, sun-baked screen to getting that perfectly taut, professional finish on the new stuff.
The secret to a great rescreening job is a mix of patience and good technique. If you rush the removal, you risk scratching up the aluminum frame. If you get sloppy with the installation, you’ll be staring at wrinkles and sags for years. Just take your time, work methodically, and you'll get it right.
This diagram breaks down the three core tools you'll be cycling through for every single panel.
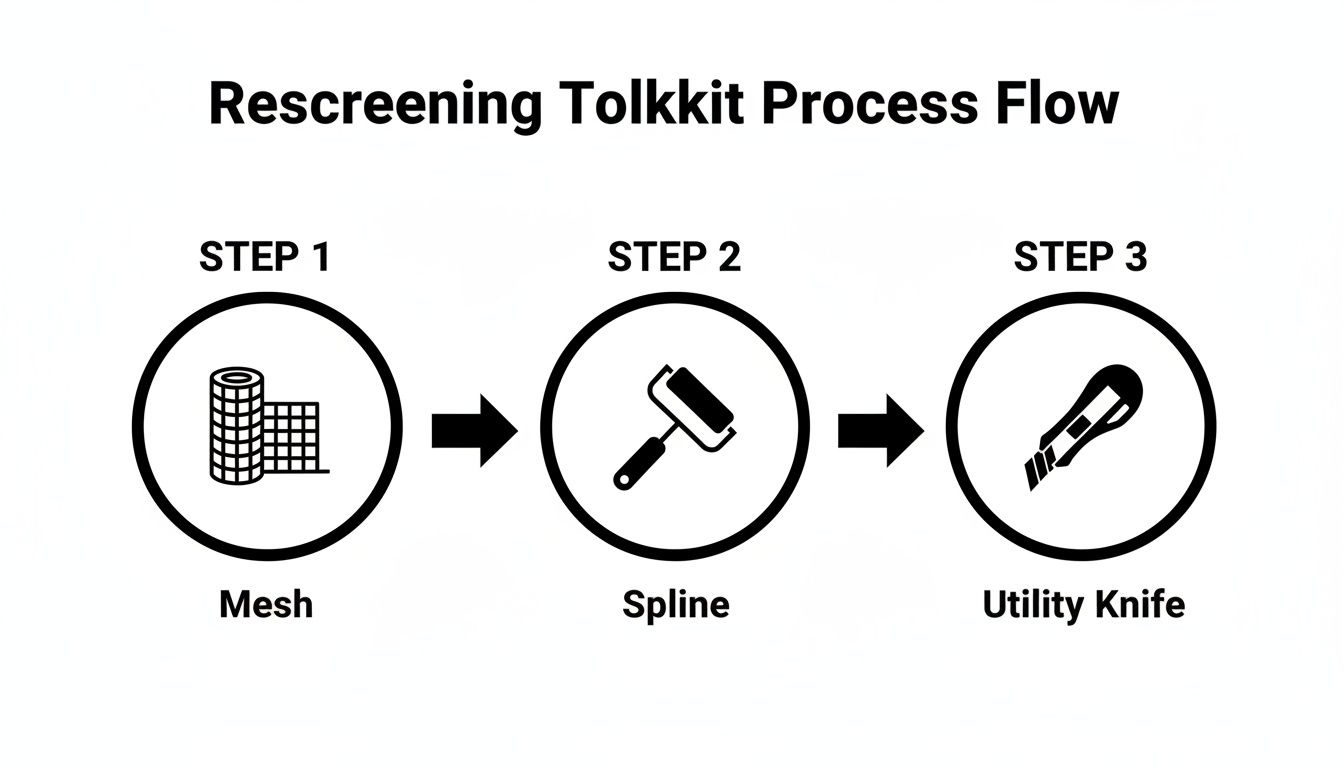
From the mesh to the spline roller to the final trim with the knife—this is your workflow. Get comfortable with it.
Safely Removing The Old Screen And Spline
First things first, we have to tear down before we can build up. The goal here is to get the old materials out cleanly without gouging the frame and creating more work for yourself. After years under the Florida sun, the old rubber spline is probably brittle and ready to fight you every step of the way.
Find a corner of the panel you’re working on and use a small flathead screwdriver or an awl to carefully pry up the end of the old spline. Go easy—you don't want to dig into the aluminum channel.
Once you’ve got an end lifted, grab it with a pair of needle-nose pliers and pull. Keep the angle low and pull steadily. Don’t be surprised when it snaps; it almost always does. Just move down a few inches, pry up the new end, and keep going.
With the spline gone, the old screen will practically fall out. Now’s your chance to give that empty channel a good cleaning with a stiff brush. Get all the dirt, grime, and tiny spline fragments out of there. For a really thorough job, you can find more tips on how to properly prepare your enclosure for rescreening.
Measuring And Cutting Your New Screen
Being precise here will save you a world of headache and wasted screen. Here’s the golden rule: always cut your new screen panel larger than the actual opening. You need that extra material to grip and pull against to get the tension just right.
A good benchmark is to add at least four to six inches of overhang on all four sides. Roll your new screen out on a clean, flat surface, measure it out, and use a sharp utility knife to make the cut. A straightedge can help keep your lines clean.
Pro Tip: Whatever you do, don't cut the screen to the exact size of the opening beforehand. That extra material is your leverage. It's the secret to pulling the screen tight and getting a clean, wrinkle-free look.
This overhang isn't permanent—you'll trim it off at the very end. Trying to be frugal by cutting it too close is a classic rookie mistake that almost guarantees a saggy, unprofessional-looking panel.
The Art Of Installing The New Screen
This is where your technique really shines. The process of rolling the screen and spline into the groove—what we call "splining"—is what makes or breaks the final result.
Start by draping your oversized screen panel over the frame opening. Try to get the overhang fairly even on all sides. A few clamps or even some painter's tape can help hold the top edge in place while you get started.
Now, grab your spline roller. This little tool has two different wheels for a reason.
- First, use the convex (rounded) wheel. Start in a top corner and gently press the screen mesh into the channel for about a foot. This creates a little groove for the spline to sit in.
- Next, start the spline. Push the end of your new spline into the corner where you just pre-rolled the screen.
- Now, switch to the concave (grooved) wheel. Roll this wheel firmly over the spline, pushing it down deep into the channel. You'll feel it lock in as it seats itself.
Work your way down one entire side, using your free hand to apply light, steady tension on the screen. You're not trying to stretch it out, just keep it straight and smooth. Pulling too hard can actually bend the aluminum frame, so be firm but gentle.
Once the first side is done, move to the opposite side. This is where you create that drum-tight tension. Pull the screen taut across the frame and repeat the splining process. Finish up by doing the two remaining sides, always working from one side to its opposite to keep the tension balanced.
Finishing Touches For A Clean Look
With all four sides splined in, your panel should be tight and wrinkle-free. Give it a light tap—it should have the dull thud of a drum. See a small sag? No big deal. You can usually pull out that section of spline, pull the screen a bit tighter by hand, and re-roll it.
The final step is trimming the excess screen. Using your utility knife, run the blade right along the outside edge of the spline channel. Angle the blade slightly away from your new screen so you don't accidentally nick your hard work. This should give you a perfectly clean line.
Take your time on this final cut. A steady hand is all it takes to create that sharp, professional-looking border that finishes the job.
Pro Tips And Common Mistakes To Avoid
Anyone can learn the basics of rescreening a pool enclosure, but getting that flawless, professional-looking finish? That comes down to a few tricks of the trade. This is the kind of insider knowledge that separates a decent DIY job from one that looks truly pristine and will last for years.
Getting the details right means you can tackle common hurdles like screen tension and clean corners head-on, turning what could be a frustrating task into a satisfying success.
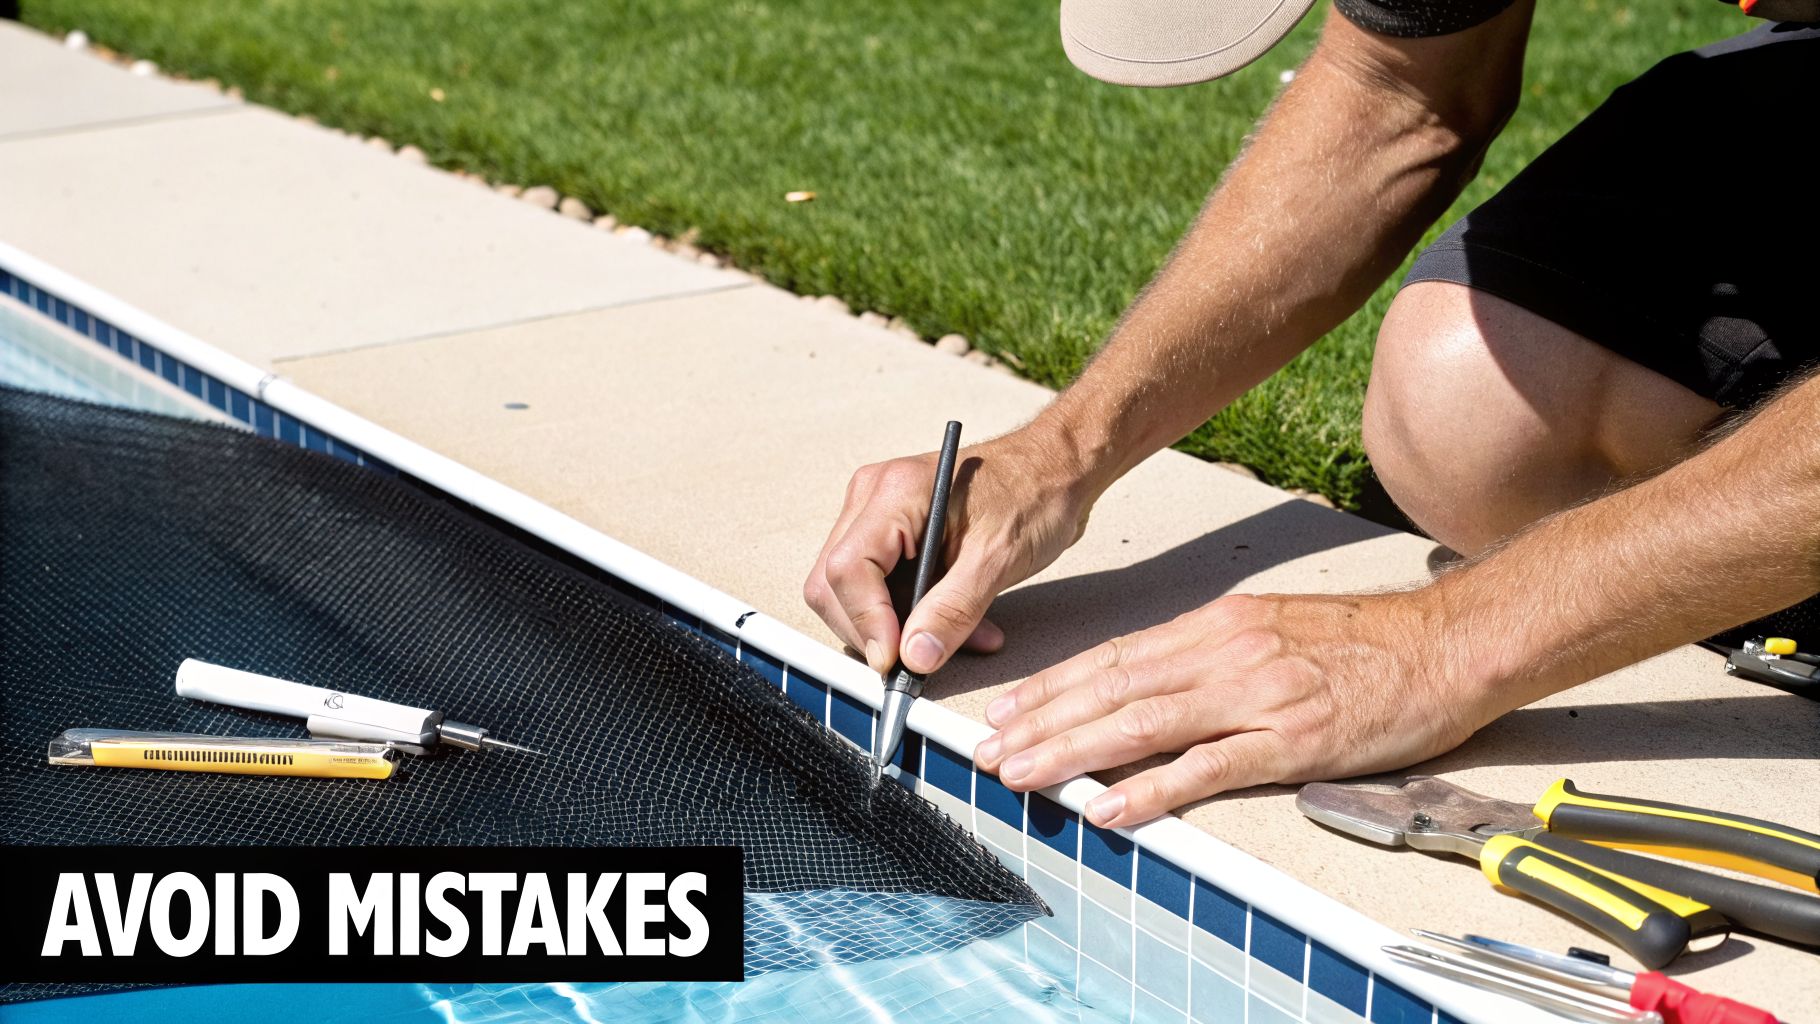
Let's dive into the techniques that prevent sagging and the frequent missteps that can derail your entire project. This is the hard-won advice that makes all the difference.
Achieving Perfect Screen Tension
A saggy, wrinkled screen is the biggest giveaway of an amateur job. Perfect, drum-tight tension is the goal, and it’s achieved through technique, not brute force. The key is to work smarter, not harder.
The best method is to work from one side to the direct opposite side. Once you spline the first side of a panel, don't just move to the next one over. Instead, go directly across from it. This lets you pull the screen taut and evenly distribute the tension before locking it in. If you just work your way around the panel in a circle, you'll almost always end up with wrinkles and slack in the final corner.
A common mistake is yanking the screen too hard, especially at the corners. This can actually bend the aluminum frame or create an unsightly 'hourglass' shape in the panel. The goal is smooth, even tension—not maximum stretch.
Remember, you want the screen tight, but not so tight that it strains the enclosure's structure. A light, consistent pull is all you need.
Nailing The Corners And Tricky Spots
Corners are where a lot of DIY projects go sideways. It’s so easy for the screen to bunch up, creating a messy look that’s a real headache to fix. But here’s a pro-level trick: make small "relief cuts" at the corners before you start splining.
Here’s how it works:
- Before you press the screen into the channel, make a tiny, 45-degree diagonal cut in the mesh right where the corner of the channel is.
- This little snip allows the screen to fold neatly into the corner without bunching up as you press the spline in.
This simple step stops the material from fighting you, allowing the spline to seat cleanly for a sharp, professional-looking corner every single time.
Another common pain point is dealing with the hardware around screen doors or other fixtures. You might need to temporarily remove handles or latches to get a clean run. Don't try to work around them; taking a moment to remove the obstruction will give you a much better result in the end.
Avoiding The Most Common DIY Mistakes
Knowing what not to do is just as important as knowing what to do. So many homeowners make the same preventable errors that lead to wasted time and materials.
Here are the top mistakes to watch out for:
- Cutting The Screen Too Short: This is the cardinal sin of rescreening. Always leave at least four to six inches of excess screen on all sides. This gives you plenty of material to grip and pull for tension.
- Using The Wrong Size Spline: This is non-negotiable. Take a piece of your old spline to the hardware store to match the diameter. If it's too thin, the screen will pop out; if it's too thick, you'll fight to get it in and could damage the channel.
- Using A Dull Utility Knife: A dull blade will snag and tear your brand-new screen, especially during the final trim. Start every major panel with a fresh blade for the cleanest cut imaginable.
- Forgetting To Clean The Channels: Old spline fragments, dirt, and grime left in the channel will prevent the new spline from seating properly. This leads to a weak hold and can cause the screen to pull out over time.
Many of these issues are interconnected. For instance, a poorly seated spline can contribute to many of the common screen issues and their solutions we see all the time. The preference for durable materials is a wider trend, too. Recent analysis projects the global screen enclosure market will reach $7.83 billion by 2025, driven by homeowners who want low-maintenance, long-lasting materials for their outdoor spaces. You can see more about these market trends from Data Insights Market Research. This demand for durability is exactly why getting these installation details right is so critical for a lasting result.
Deciding When to Call in a Professional
The true mark of any great DIYer is knowing when to put the tools down. While rescreening a few lower panels on your pool cage is a totally manageable and rewarding project, some situations can quickly get out of hand. The complexity, risk, and potential for things to go wrong can easily outweigh any savings.
This is where stepping back and calling a professional isn't just a good idea—it’s the smartest and safest choice. Knowing the red flags can save you from a project that spirals out of control, causes damage to your property, or worse, leads to a serious injury.
When The Job Is Too High Or Too Complex
The most obvious reason to hire a pro? Height. If you’re dealing with a two-story enclosure or panels that are way out of reach, the risk of a fall is just too high. Professionals show up with the right scaffolding, ladders, and safety gear to work at those heights safely and efficiently. Don't risk it.
Beyond just the height, the complexity of the job itself is a huge factor.
- Significant Frame Damage: If you spot corrosion, bent aluminum beams, or rust eating through connection points, this isn't a simple rescreening job anymore. A pro needs to assess the structural integrity of the cage and make the right repairs.
- Widespread Fastener Failure: Are the screws all rusted out or snapped off? That's a big problem. A professional has the specific tools and experience needed to extract broken fasteners and replace them with the correct high-grade, corrosion-resistant hardware. This is about securing the entire structure, not just one panel.
- Massive or Unusually Shaped Enclosures: Large, multi-faceted, or custom-designed pool cages require a level of precision that only comes with experience. Getting the tension just right across a massive roof panel or around a tricky angle is a skill honed over hundreds of jobs.
The Hidden Value Of Professional Service
Hiring an expert is about more than just dodging a difficult job; it's an investment in quality and your own peace of mind. Pros bring a level of expertise and access to materials that just aren't available to the average homeowner, which means the job gets done right the first time.
The real value of a professional isn't just their labor; it's their ability to spot and fix underlying issues you might never see. A pro can identify a small patch of corrosion before it compromises a major structural beam, saving you from a much larger expense down the road.
This kind of foresight is invaluable. A professional service also means you're getting superior materials that you probably won't find at the local big-box store, leading to a much more durable, longer-lasting result.
The Benefits Of Experience And A Warranty
Think about the time difference. A seasoned crew can often knock out a full rescreen in a single day. A first-timer? You could be looking at several weekends of frustration. That efficiency means your pool is back in business almost immediately, not tied up in a half-finished project.
Plus, any reputable company is going to stand behind its work.
- Workmanship Warranty: If a screen pops out or a corner comes loose a month later, they'll come back and fix it. That warranty protects your investment.
- Material Quality: Professionals source high-quality screen and spline designed to withstand the brutal Florida sun and humidity.
- Structural Insight: While they're working, they can spot other problems, like poor drainage causing fastener rust or bent purlins that need reinforcement. Addressing these issues is a core part of a professional pool cage repair service.
Ultimately, choosing to hire a pro for your pool enclosure rescreening is a strategic move. It ensures the job is completed safely, efficiently, and to a standard that protects the structural integrity—and value—of your home for years to come.
Answering Your Top Questions About Rescreening
Even with a solid plan, it's smart to have a few questions before diving into a big project like this. Let's tackle some of the most common things homeowners ask me about rescreening their pool enclosure. Getting these answers sorted out will help you move forward with confidence.
How Often Should I Rescreen My Pool Enclosure In Florida?
Here in Florida, the combination of intense sun, high humidity, and seasonal storms means a standard fiberglass pool screen usually gives you about 7-10 years of service. That's a good baseline, but it's not set in stone.
If your home is near saltwater or you have a lot of trees dropping branches and debris, you might see that lifespan shrink. The best way to judge is by looking at the screen itself. Once you notice the mesh getting brittle, changing color, or showing a bunch of tiny tears across different panels, it's time to plan for a full rescreen. Getting ahead of it saves you from the headache of one panel failing after another.
What's The Average Cost Of Rescreening A Pool Cage?
This is a big one, and the honest answer is: it varies. The final price tag depends on the size of your enclosure, the type of screen you choose, and whether you do it yourself or bring in a pro.
Going the DIY route will obviously save you on labor, but materials for an average-sized cage can still run from a few hundred to over a thousand dollars. That cost goes up if you opt for premium screens like pet-resistant or solar-blocking mesh.
Hiring a professional service means you're paying for labor, but you're also getting high-grade materials and, most importantly, a warranty. It's peace of mind in a finished product. For a much deeper dive into the numbers, check out our guide on the cost to rescreen a pool enclosure.
Can I Just Replace One Damaged Screen Panel?
Absolutely. If a stray golf ball or a fallen branch takes out a single panel, but the rest of your screens are in good shape, just replacing that one section is the perfect fix. It's fast, affordable, and gets the job done.
But, if all your screens are reaching that 10-year mark and feel brittle to the touch, a full rescreen is the smarter long-term move. When one old panel gives out, you can bet its neighbors aren't far behind. Doing the whole enclosure at once gives you a uniform look and consistent strength, so you're not stuck in a cycle of endless repairs.
Upgrading all your screens at once ensures consistent protection and appearance. It's an investment in preventing future headaches and maintaining your home's curb appeal.
What's The Benefit Of Upgrading To Corrosion-Resistant Fasteners?
I can't recommend this enough. Standard steel screws are the enemy of a Florida pool cage. In our humid, salty air, they start to rust in just a few years. You'll see those ugly orange streaks running down the aluminum frame and staining your deck. More than just an eyesore, that rust weakens the structural connections holding your enclosure together.
Upgrading to corrosion-resistant fasteners—like stainless steel or specialty ceramic-coated screws—is one of the best investments you can make for your enclosure. It stops rust in its tracks, extends the life of the entire structure, and keeps everything looking clean and sharp for years.
If you've decided that hiring a professional is the best path for you, Rescreen Rescue is ready to help. Our team brings years of experience to deliver fast, reliable, and high-quality rescreening services all over the Tampa Bay area. Get your free estimate today and let us bring your outdoor oasis back to life. Visit us at https://rescreenrescue.com.