


Your pool cage is much more than just a screen—it's an essential part of the Florida lifestyle. But let's be honest, nothing lasts forever against our sun and storms. Pool cage repairs cover a whole range of services, from fixing a single torn screen panel to a full-blown structural restoration. This means replacing those ugly rusted fasteners or even repairing storm-damaged aluminum frames.
The end goal is simple: tackle any issue, big or small, to keep your outdoor oasis safe, bug-free, and looking sharp.
Your Essential Guide To Pool Cage Repairs
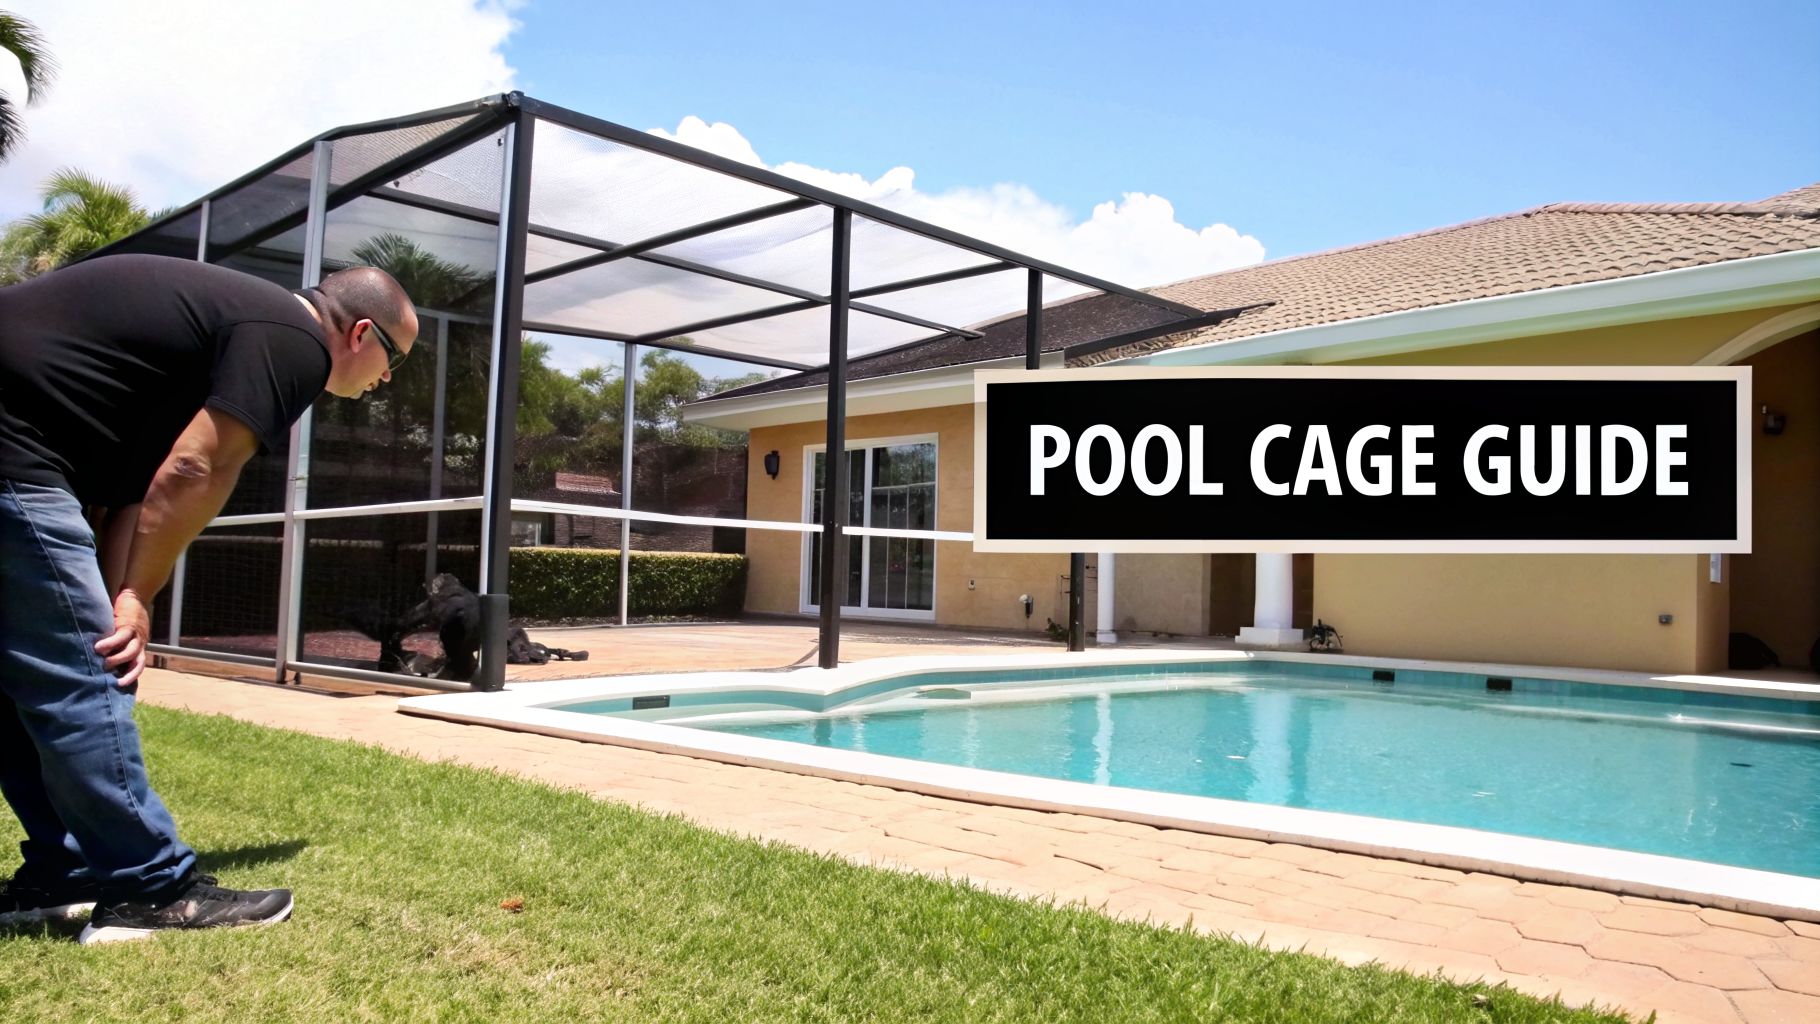
For homeowners anywhere in the Tampa Bay area, a pool enclosure isn't a luxury; it's practically a necessity for enjoying the outdoors. It keeps the critters out, offers a bit of UV protection, and adds a critical layer of safety around your pool. But in doing its job, it takes a constant beating from Florida's demanding climate.
Think about it: intense sun, thick humidity, daily rain showers, and salty air create a brutal combination for any outdoor structure. This constant barrage is exactly why pool cage repairs are a fact of life here. Over time, materials break down, and what seems like a tiny issue today can quickly become a major headache tomorrow.
It’s More Than Just The Screen
A lot of folks think pool cage repair just means patching a hole. While that's certainly part of it, a truly professional approach looks at the health of the entire structure. The best service digs deeper to fix the root causes of the problem, not just the symptoms. You can learn more about the specifics of screen enclosure repair in our detailed article.
A full-service repair job is designed to bring back your enclosure's strength and good looks. This usually includes:
- Rusted Screw Replacement: Swapping out old, corroded fasteners that leave nasty rust stains and weaken the joints of the frame.
- Structural Aluminum Repair: Mending or replacing beams that have been bent or damaged by falling branches, storms, or other impacts.
- Full Enclosure Rescreening: Replacing every single screen panel for a clean, uniform appearance and top-notch performance.
- Complete Restoration: This is the total overhaul. It often includes new screens, all new fasteners, and a fresh coat of paint to make the cage look brand new again.
The hard truth is that ignoring small problems always leads to bigger, more expensive ones down the line. A few rusted screws can compromise an entire support beam, and one torn panel can put enough stress on the others to cause widespread failure.
Why Proactive Maintenance Is More Important Than Ever
The need for diligent upkeep is becoming crystal clear. The North American pool maintenance industry was already servicing over 13.5 million residential pools back in 2019, and the demand for specialized pool cage repairs has only surged since then. This is especially true as our weather gets more intense and older enclosures start showing their age.
Data shows that structural repairs, including screen enclosures, can eat up to 25% of a homeowner's total maintenance budget, particularly as salt air corrodes the aluminum frames. You can dig into more insights about the pool maintenance market on marketdataforecast.com. This guide is here to walk you through every part of the repair process so you can make smart, informed decisions for your home.
What Kinds Of Pool Cage Damage Should I Look For?
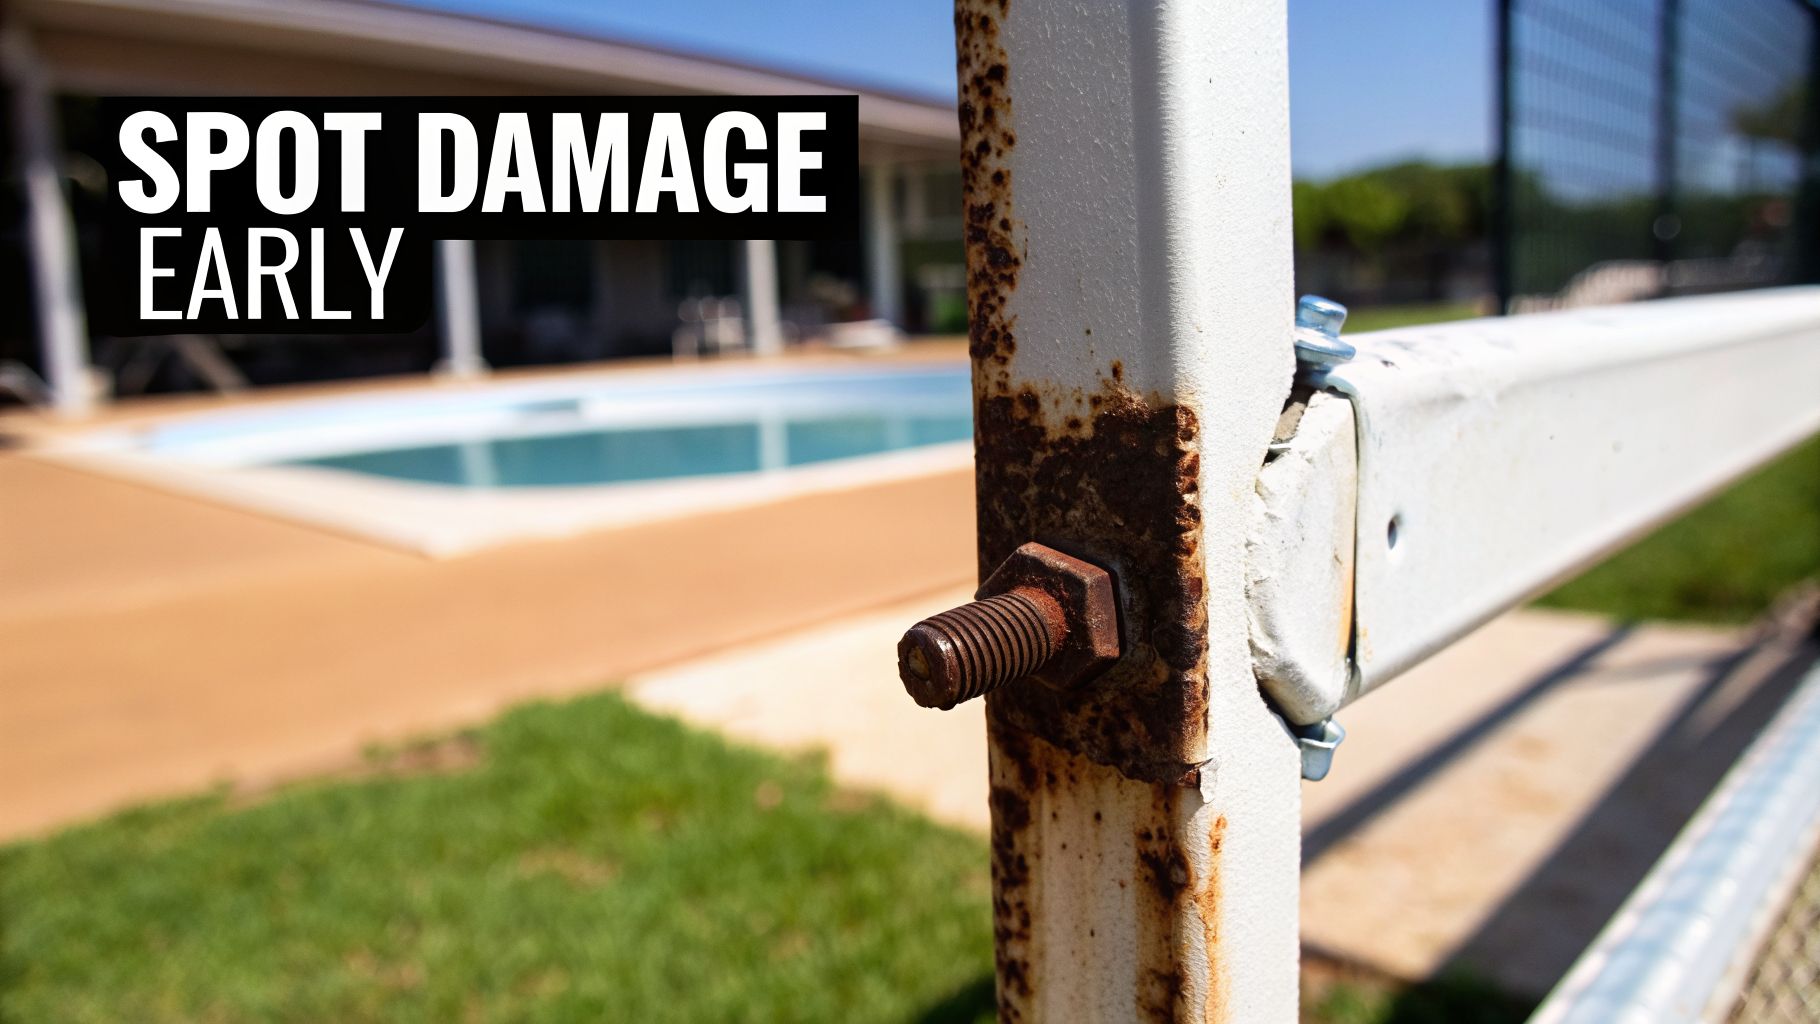
Keeping your pool enclosure in good shape means more than just patching an obvious tear in the screen. A lot of the real trouble starts small, quietly chipping away at your cage’s strength long before you notice a major problem.
Learning to spot these early warning signs is the best way to get ahead of expensive, large-scale pool cage repairs. Think of it as a quick health checkup for your enclosure. A little rust stain or a screen that looks a bit faded might not seem like a big deal now, but they’re often the first clues of bigger issues on the horizon.
The Sneaky Damage From Corroding Fasteners
One of the most common—and destructive—problems we see is fastener corrosion. The screws and bolts holding your aluminum frame together are its skeleton. When they start to go, the whole structure is at risk.
Keep an eye out for those tell-tale rust "bleeds" running down the aluminum beams from the screw heads. Those orange or brown streaks are a dead giveaway that the protective coating on the fasteners has given up. This is a huge issue here in Florida, where our humid, salty air speeds up corrosion like you wouldn't believe. Once rust takes hold, the screw weakens, leading to loose connections and a wobbly, unsafe frame.
When Your Screens Become Faded And Brittle
Your screens are in a constant battle with the intense Florida sun. Over time, that relentless UV exposure breaks down the screen material, making it brittle, discolored, and weak. A healthy screen should be pliable and dark, but a damaged one will often look faded, gray, or even feel chalky to the touch.
Brittle screens are a tear waiting to happen. Even a small impact from a falling acorn or a bird can be enough to rip right through them. That's when you lose the main benefit of your cage: keeping the bugs out. A simple test is to gently run your hand over the screen. If you feel any stiffness or a rough texture, it’s a clear sign that a rescreen is in your future.
For a deeper dive into all kinds of enclosure issues, check out our guide on common screen enclosure repairs.
Other Common Structural And Functional Damage
Beyond just screens and screws, other parts of your pool cage take a beating, too. Here are a few other common problems to watch for:
- Bent Aluminum Beams: Strong storm winds or a falling tree limb can easily bend or dent parts of the aluminum frame. A bent beam is a weak point, and it compromises the stability of the entire enclosure.
- Worn-Out Spline: That rubber gasket holding the screen in the frame is called spline. Over the years, it can dry out and shrink. When that happens, it loses its grip, and you’ll start seeing saggy screens or panels pulling away from the frame.
- Screen Door Issues: Doors get the most use, so they have their own set of problems. Look for sagging hinges that make the door hard to close, broken handles, or a latch that won’t catch—all of which are safety issues.
To help you quickly diagnose what's going on with your enclosure, here is a simple breakdown of symptoms and the actions to take.
- Symptom: Orange streaks below screws.
- Potential Problem: This indicates fastener corrosion.
- Recommended Action: Replace all old screws with new, high-quality coated fasteners.
- Symptom: Gray, chalky, or stiff screens.
- Potential Problem: This is caused by UV degradation.
- Recommended Action: A full rescreen is needed to restore protection and appearance.
- Symptom: Sagging or loose screens.
- Potential Problem: The culprit is likely shrunken spline.
- Recommended Action: Replace the spline around the affected panels or the entire cage.
- Symptom: Dented or bent frame parts.
- Potential Problem: This is typically impact or wind damage.
- Recommended Action: Have a professional assess and replace the damaged structural members.
- Symptom: A door that won't close properly.
- Potential Problem: You're looking at worn hinges or hardware.
- Recommended Action: Replace door kits, including hinges, handles, and closers.
If you see something that's not on this list, it's always best to get a professional opinion.
Catching these issues early is the absolute key to affordable maintenance. A single bent beam or a handful of rusty screws can be handled with targeted pool cage repairs. But if you let them go, they can cause a domino effect of structural failure that ends up requiring a complete—and much more expensive—restoration.
DIY vs. Professional Pool Cage Repairs: What You Need To Know
When you see a small tear in a screen or a door handle that’s a little loose, the first thought is often, "I can fix that myself." A quick run to the hardware store seems like a simple solution. But with pool cage repairs, knowing where to draw the line between a quick DIY fix and a job for the pros is absolutely critical.
This isn't just about saving a few bucks. It's about safety, the quality of the repair, and the long-term health of your entire enclosure. While a handy homeowner can certainly tackle some minor issues, many common problems need specialized tools, professional-grade materials, and a level of expertise that just can't be learned from a single YouTube video. Let's break down both paths so you can make the right call.
What You Can Realistically Tackle Yourself
For the dedicated DIYer, some small-scale pool cage repairs are definitely within reach. These are typically jobs that require basic tools, don't involve climbing up to dangerous heights, and won't cause a bigger problem if you make a small mistake.
Here are a few examples of manageable DIY projects:
- Patching a Tiny Screen Hole: For a puncture no bigger than a quarter, an adhesive screen patch can be a decent temporary fix.
- Replacing a Door Latch or Handle: Swapping out broken door hardware is usually a simple job that just needs a screwdriver.
- Lubricating Hinges: That annoying squeak every time the door opens? A little silicone spray on the hinges is an easy and effective fix.
These tasks are great for getting things back in working order quickly. But it’s important to understand their limits. That patch kit, for instance, is a band-aid solution at best—it won't hold up to Florida weather nearly as long as a properly installed new screen panel.
The Hidden Hurdles of DIY Pool Cage Repairs
Stepping up from minor fixes to larger repairs, like rescreening a few panels, is where things get complicated—and fast. A DIY rescreening project might look straightforward online, but those videos often skip over the real challenges homeowners run into.
The single biggest hurdle is achieving proper screen tension. This is way harder than it looks. Without the right tools and a practiced technique, you’ll end up with screens that are either too loose (saggy and flapping in the wind) or far too tight, putting constant stress on the aluminum frame.
A poorly tensioned screen doesn't just look bad; it fails faster. The constant movement from wind can cause the spline to work its way out of the channel, leading to a cascade of screen failures across your enclosure.
Another major challenge is getting your hands on professional-grade materials. The screen, spline, and fasteners you find at big-box retail stores are often a lower grade than what professional contractors use. That quality difference directly impacts how long your repair will actually last against our state's brutal sun and humidity.
As you weigh your options, understanding DIY vs. professional for home projects can be a huge help, as the same core principles apply whether you're fixing a window or a pool cage.
Why Hiring a Professional Is an Investment
Calling in a professional for your pool cage repairs isn't just an expense; it's an investment in your safety, the durability of your enclosure, and your own peace of mind. Experienced technicians have the proper equipment and training to do the job safely, especially when it means working high up on a two-story cage.
They also have access to superior, commercial-grade materials built to withstand the local climate. This matters more than you might think. Recent data shows that repair calls spiked 35% after tropical storms post-2023, and hardware like fasteners often needs replacing every 5-7 years to fight off rust. Pros use marine-grade options that dramatically reduce the need for repeat visits.
At the end of the day, a professional job is backed by a warranty covering both labor and materials. This gives you a guarantee that the work was done right. For a significant project like a full pool enclosure screen repair, that kind of assurance is priceless.
The Professional Pool Cage Repair And Restoration Process
So, what really goes into a professional restoration of your pool cage? It’s far more than just patching a few holes. Think of it as a complete overhaul designed to bring back both the function and beauty of your entire outdoor living space.
The whole thing kicks off with a meticulous inspection and a clear, detailed estimate, so you know exactly what’s on the table. From there, every single step is deliberate. The goal is to deliver a final product that not only looks fantastic but is built tough enough to handle the Florida climate for years to come.
The Foundation A Thorough Preparation
Before a single new screen panel goes up, the existing structure has to be prepped. This is arguably the most critical stage because it sets the foundation for a durable, long-lasting repair. The process always starts with a comprehensive pressure wash.
And I don't mean a quick rinse. A professional pressure washing blasts away years of built-up dirt, grime, mildew, and corrosive salt that’s been eating away at the aluminum frame. This step is absolutely essential for making sure new paint will stick correctly and that the structure is spotless before the new screens go on.
Replacing The Weakest Links
With the structure clean, the focus shifts to its hardware. Every single old screw and fastener gets systematically removed from the enclosure. It's a painstaking process, but it's vital—those old, corroded screws are the number one cause of structural weakness and those ugly rust stains you see dripping down the frame.
Once the old ones are out, they’re replaced with brand new, corrosion-resistant fasteners. We’re talking high-grade, coated screws specifically designed to fight off the rust and decay that Florida's humid, salty air is famous for. This fastener replacement is a core part of any quality pool cage repairs, reinforcing the entire frame from the ground up.
The infographic below really shows the advantage of going pro versus trying to tackle this yourself. You can see how streamlined and thorough an expert's service is.
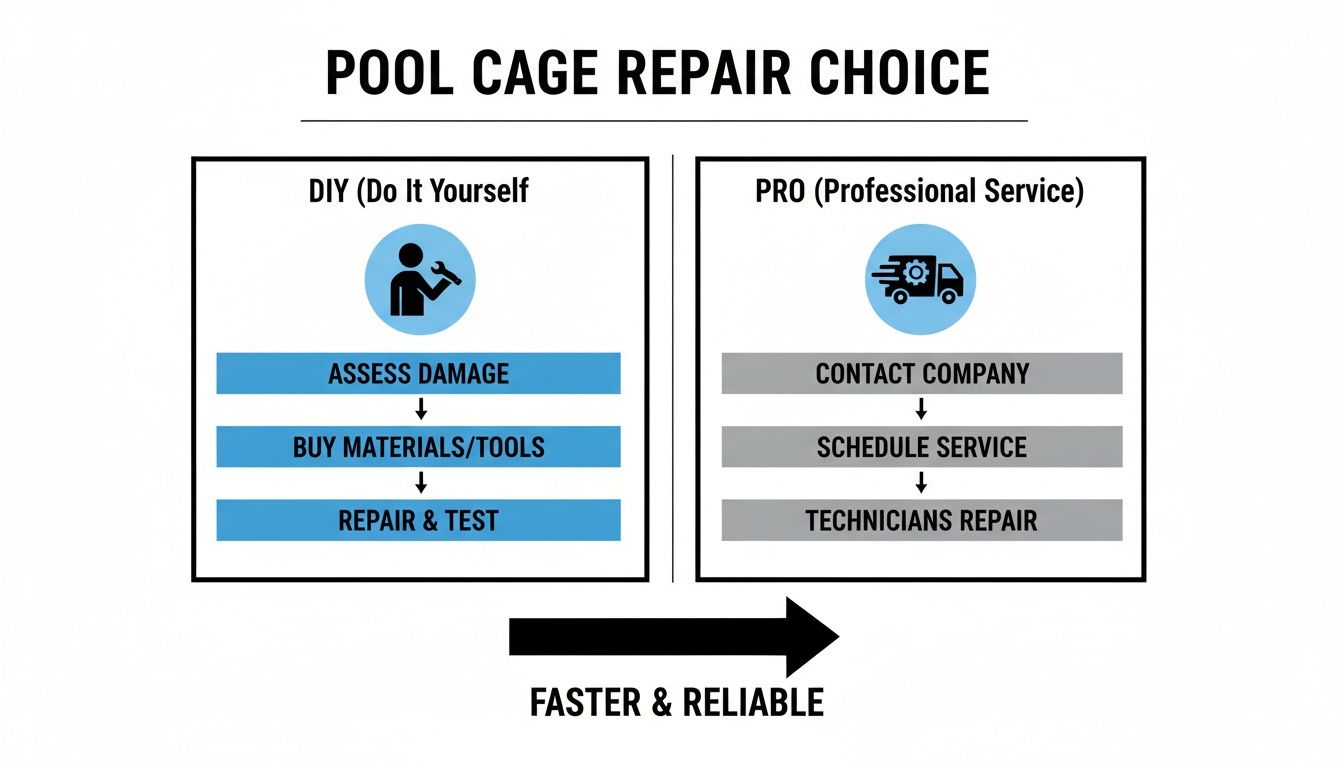
This visual makes it pretty clear. While DIY might seem like a good idea for a tiny patch, a professional workflow covers critical steps that get missed, like a full fastener replacement and expert screen tensioning.
Expert Screening And Finishing Touches
After the frame is solid and secure, the old screen and spline—that’s the rubber gasket holding it in place—are carefully stripped from every single panel. This gives us a fresh start and a clean channel for all the new materials.
Next, the new screen is expertly installed, one panel at a time. Our technicians use specialized tools and proven techniques to get that perfect, drum-tight tension. This is what prevents sagging, flapping in the wind, and premature wear, making sure your new screens look flawless and do their job right. If you want to dive deeper into this part of the process, check out our guide on what is involved with rescreening a pool cage.
The final step in a full restoration is often a professional paint job. A multi-step process involving primer and high-quality paint revitalizes the look of the aluminum and adds another protective layer against corrosion, bringing the entire structure back to a like-new condition.
This methodical process ensures every single component, from the smallest screw to the largest screen panel, works together to give you a safe, durable, and beautiful enclosure that truly enhances your home.
How To Choose The Right Contractor In Tampa Bay
Picking the right company for your pool cage repair can feel like a big decision, but knowing the right questions to ask will quickly separate the real pros from the rest. You're looking for a partner who cares about quality, safety, and being upfront just as much as you do. A few straightforward questions can make all the difference and help you hire with total confidence.
This decision shouldn't come down to price alone. The right contractor gives you peace of mind by protecting you from liability, using materials built to last, and actually standing behind their work. Let’s walk through the essential checklist for vetting contractors here in the Tampa Bay area.
Start With The Non-Negotiables
Before you even get into discussing screen types or paint colors, there are two credentials that are absolute must-haves. Any reputable contractor will have zero problem showing them to you.
- Verify Their License: Here in Florida, any contractor working on a structure like a pool enclosure is required to be licensed. This isn't just a piece of paper; it’s proof that they’ve met the state's standards for knowledge and competence.
- Confirm They Are Fully Insured: Ask to see proof of both liability insurance and worker’s compensation. Liability insurance protects your property from accidental damage, while worker's comp is what protects you from being held financially responsible if a crew member gets hurt on your property.
Don’t just take their word for it. Ask for physical copies of their license and insurance certificates. A professional outfit will hand these over gladly because they know it builds trust and protects everyone involved.
Dig Deeper Into Quality And Guarantees
Once you've confirmed they're a legitimate business, it’s time to talk about the quality of their work and materials. This is where you can really see their commitment to a repair that lasts. A quality-focused contractor won't shy away from getting into the specifics.
Always ask about warranties, as they speak volumes about a company's confidence in its own work. A solid warranty should cover both the materials they use and the labor they perform. This ensures that if a screen panel sags or a fastener gives out prematurely, they’ll come back to make it right without a fuss.
Question The Quality Of The Materials
The longevity of your pool cage repair comes down almost entirely to the quality of the materials used. This is especially true for the smallest, most overlooked components—the fasteners. Ask every potential contractor what kind of screws they use. Are they cheap, standard steel, or are they corrosion-resistant coated fasteners designed to stand up to Florida’s humid, salty air?
A cheap screw might save a few bucks on the initial quote, but it will rust out within a couple of years, leaving ugly stains and creating structural weak points. Insisting on high-quality fasteners is one of the smartest investments you can make for your enclosure. The same goes for the screen material and the quality of the paint they use for restoration jobs. You can find more helpful advice by reviewing our guide on finding a contractor for a pool cage repair near me.
Look For Signs Of Trustworthiness
Finally, do your homework to confirm their reputation and transparency. A trustworthy company leaves a trail of happy customers and clear communication.
- Check Online Reviews: Look at their reviews on Google and other sites. Don't just glance at the star rating; read what actual customers are saying about their punctuality, professionalism, and the quality of the finished project.
- Insist on an Itemized Estimate: Never accept a vague, one-line quote. A true professional will give you a detailed, itemized estimate that breaks down all the costs for labor, materials, and any other services like pressure washing or painting. This prevents surprise charges and ensures you know you’re paying for exactly what was agreed upon.
Maintaining Your Enclosure To Extend Its Lifespan
You’ve just invested in professional pool cage repairs—now it’s time to shield that investment. Preventive upkeep acts like a regular check-up for your enclosure, keeping it sturdy, functional, and looking sharp for years to come.
In other words, you don’t need to carve out weekends for back-breaking labor. A handful of quick, consistent habits tailored to Florida’s sun, salt air, and storms will slow wear and tear and preserve your pool cage as an inviting backyard oasis.
The Power Of A Gentle Wash
When was the last time you hosed down your enclosure? Over weeks and months, salt, pollen, dirt, and mildew build up on both frame and screen—accelerating corrosion and fabric breakdown.
A gentle wash with a soft-bristled brush, mild soap, and your garden hose removes these corrosive culprits. And be sure you’re regularly maintaining your enclosure's screens to keep every panel crisp and damage-free.
“Cleaning your enclosure is like an oil change for your car—a small, routine task that prevents much larger, expensive repairs down the road.”
Regular Inspections And Minor Upkeep
A five-minute walkaround after a storm can catch issues before they spiral out of control. You don’t need a toolbox full of gadgets—just your eyes and a pair of gloves.
Here are a few simple tasks to add to your routine:
- Check for Damage: Scan screens for tiny tears, peek for bent or cracked aluminum, and brush debris off roof panels.
- Lubricate Moving Parts: Every three months, dab a bit of silicone-based lubricant on latches and hinges to prevent rust-seized doors.
- Trim Nearby Greenery: Keep branches, palms, and shrubs at bay—no overhang means fewer punctures and scratches during high winds.
Spotting and fixing these small concerns now saves you a chunk of money—and the headache of major repairs—later.
Your Top Pool Cage Repair Questions Answered
When it comes to your pool cage, a few questions always bubble up to the surface. Maybe you're dealing with a few torn panels or wondering if it's time for a total overhaul. Getting straight answers is the first step, so let's clear up some of the most common things homeowners ask.
How Much Do Pool Cage Repairs Typically Cost?
The honest answer? It depends. Just like any home project, the cost can swing quite a bit based on what needs to be done. A simple, one-panel screen replacement is a quick and very affordable fix. On the other hand, a full rescreen of your entire enclosure is more of an investment in your property's value and longevity.
A few key things will shape the final price:
- The Size of Your Cage: Bigger enclosures naturally require more screen and more hands-on time from the crew.
- The Type of Screen: Standard fiberglass is the most budget-friendly option. If you upgrade to a specialty screen, like a pet-resistant or high-visibility one, the material cost will be higher.
- The Scope of Work: The difference between swapping out one panel and a full-blown restoration—which includes replacing every screw and painting the frame—is significant.
Since every enclosure has its own quirks, the best way to know for sure is to get a free, detailed estimate. That's the only way to get a number that’s tailored specifically to your project.
How Long Does A Full Pool Cage Rescreen Take?
You might be picturing a long, drawn-out process, but you'd be surprised. An experienced, professional crew can knock out a full rescreen on an average-sized pool cage in just one to two days. That timeline usually covers everything—replacing all the screen, installing new spline and fasteners, and doing a full cleanup.
Smaller repairs are even quicker. If you just have a few panels to replace, the job is often done in a couple of hours. That efficiency is one of the biggest perks of hiring a pro; it means minimal disruption to your daily life and you get your backyard oasis back in no time.
What Is The Difference Between Repairing And Rescreening?
People tend to use these terms interchangeably, but in the industry, they mean two very different things. Knowing the distinction helps you figure out exactly what your enclosure needs.
A repair is all about fixing a specific, isolated problem. Think of it as a spot treatment. Maybe a stray golf ball took out a panel, a door handle broke, or a support brace got bent. It’s targeted, small-scale work.
A rescreen, however, is the full monty. It’s a complete replacement of all the screen panels on the entire enclosure. This is usually the right call when most of your screens are getting old, brittle, and faded from the Florida sun. A full rescreen almost always includes new spline and upgraded fasteners to give the whole structure a fresh lease on life.
As a rule of thumb, if more than a third of your screen panels are damaged or looking tired, a full rescreen is usually the more cost-effective choice. It gives you a clean, uniform look and ensures the whole structure is equally durable.
Is It Worth Painting My Old Pool Cage?
Absolutely. A professional paint job does two incredible things for an old, chalky, or faded aluminum pool cage: it provides a stunning visual upgrade and a critical layer of protection. Right away, a fresh coat of paint makes the structure look brand new, giving your home’s curb appeal a serious boost.
Even more importantly, high-quality paint acts as a shield against Florida’s corrosive salt air and humidity. This protective barrier seals the aluminum, helping to stop rust and corrosion before they can start. This simple step makes painting a smart, cost-effective part of any restoration, as it can add years to the life of your aluminum frame and protect your investment.
Ready to bring your outdoor oasis back to life? The experienced team at Rescreen Rescue delivers top-quality pool cage repairs, rescreening, and restoration services across the Tampa Bay area. Get your free, no-obligation estimate today by visiting https://rescreenrescue.com.